![]()
I saw this model of a troop transport or tank from a Star Wars film.
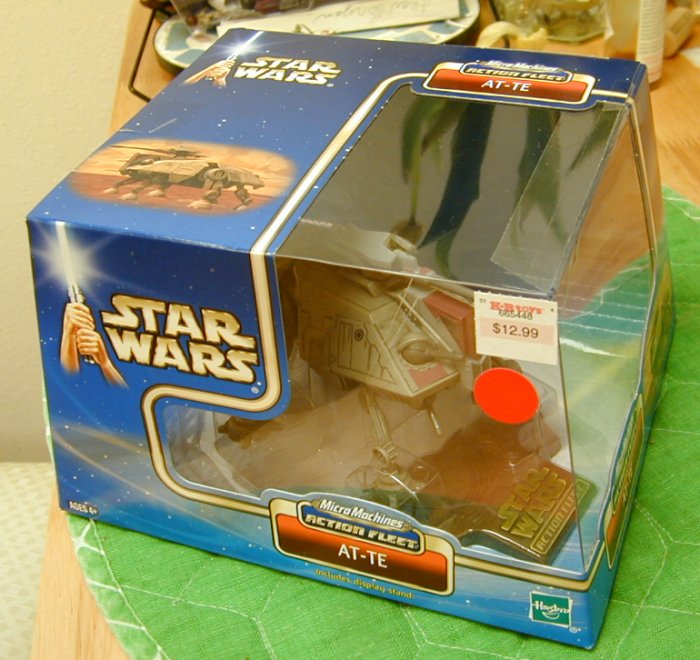
It is called "AT-TE". I thought it might make the basis of a nice Victorian Science Fiction
war machine.
These were on close-out at K-B Toys, so I thought I would give it a go.
Being at a good price and not knowing how many I would want in the end, or how many I would
mess up before getting it right, I decided to clear the shelf.
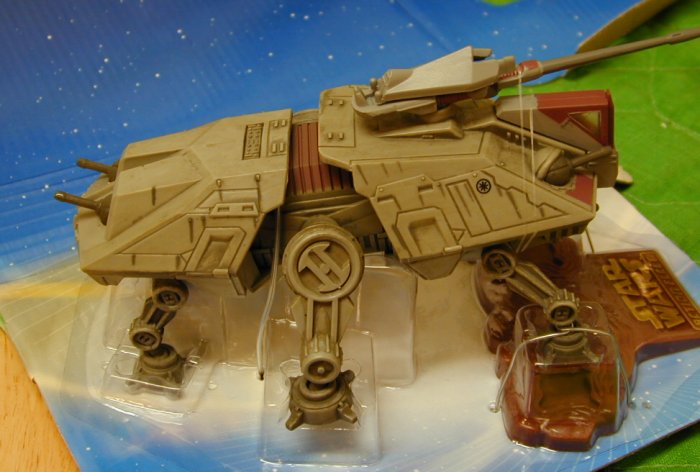
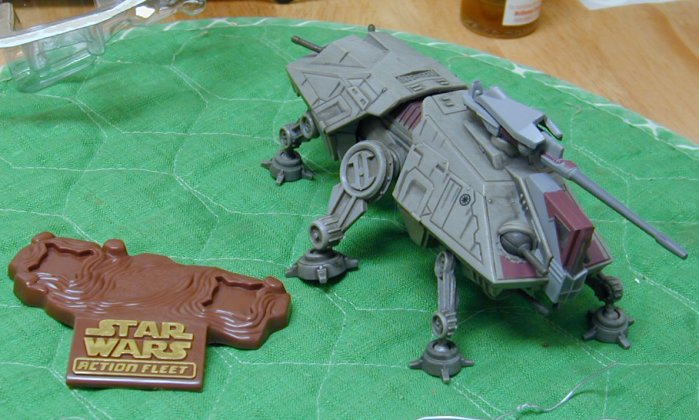
The contents of the boxes were pretty basic.
The Underside:
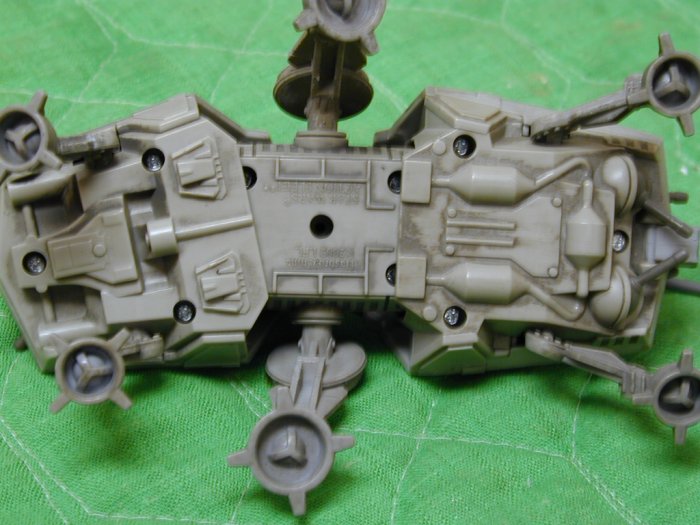
One of the advantages of the current crop of toys from China is that most as assembled with
small screws. This makes disassemble and reconstruction much easier. I just remove the screws and
expose the inner cavity. I had to brake some glued bonds, but it was not difficult.
The Parts you get:
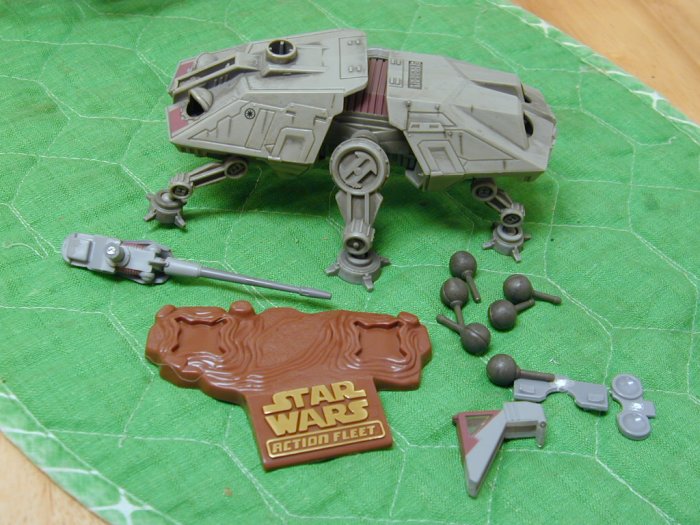
Here is the pile of parts I ended up with. I did not think the turret or the ball mounted guns
really fit the Victorian feel I was going for. Besides, I want a model in the end that does not scream "Star Wars".
So remove some of the recognizable bits will help me disguise the model.
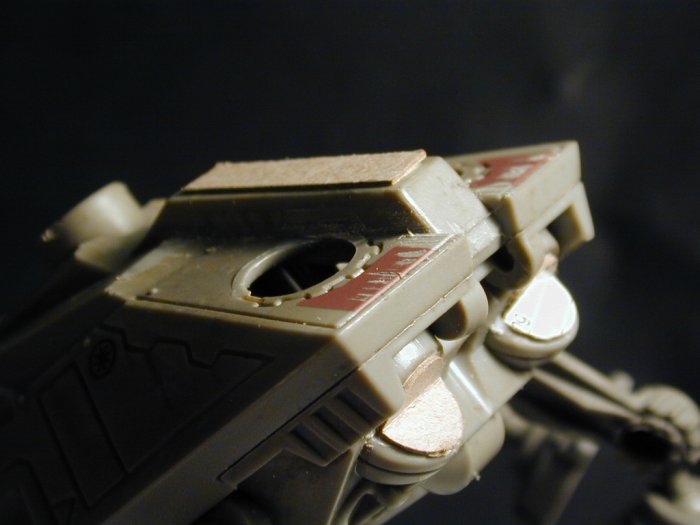
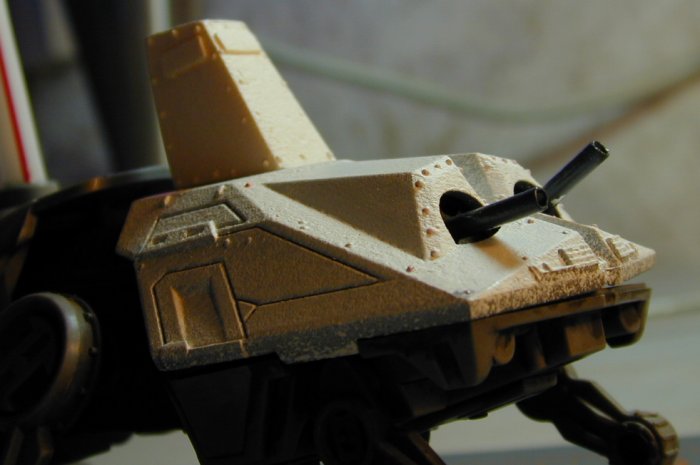
The models front:
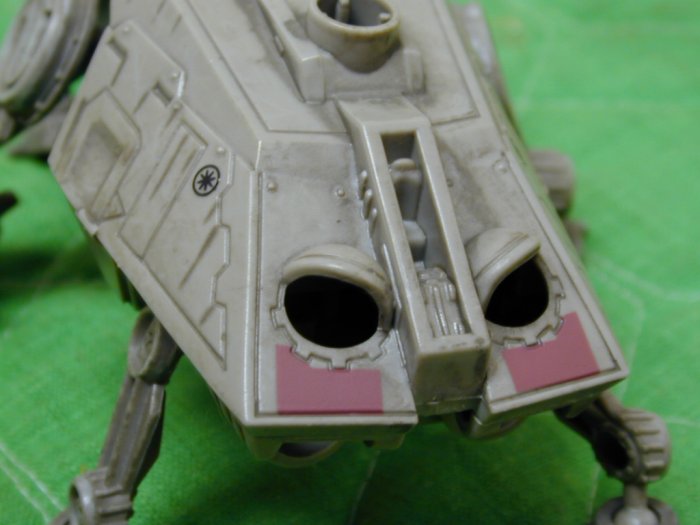
Another little trick is to turn things up side down or around. In this case what was the front will
become the rear. These "eye lids" over the old ball mounted guns are just too distinctive. I have
already removed the cockpit cover, but will shave off the eye lids and put smoke stacks coming
through the remaining holes.
The new front end:
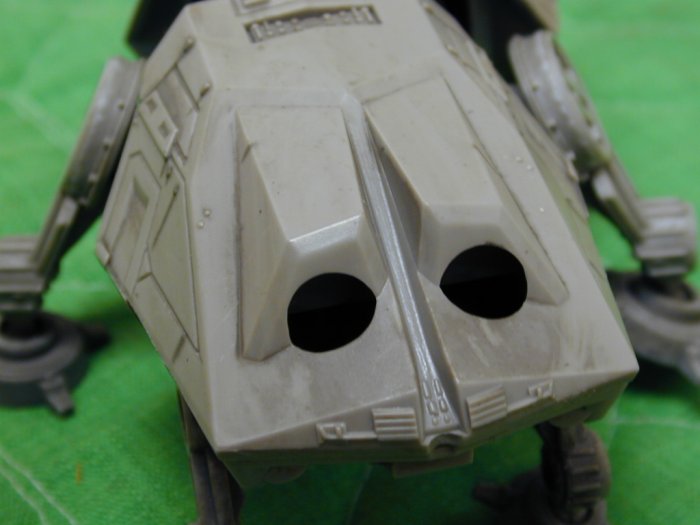
The original rear has these two casements about the ball guns. I thought these will make good
gun ports on my model.
Articulation:
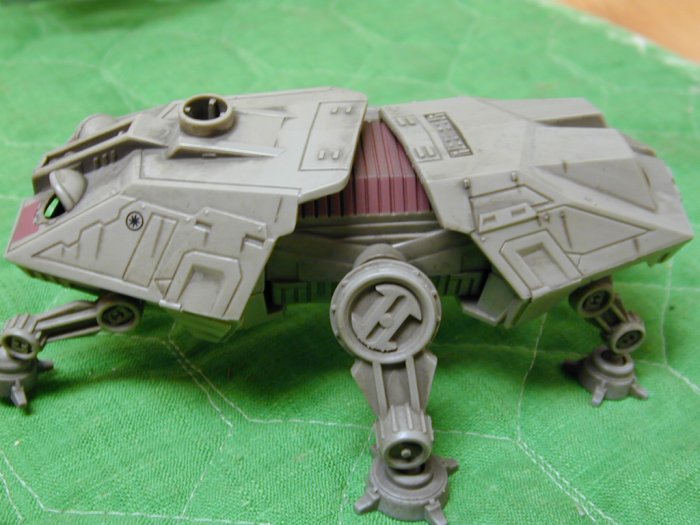
The toy has a nice flexibility in its center.
Rivets: The model comes with some very nice features, but we must think about the design philosophy of the Victorian age, and how to transform out kit into a machine that could rest comfortably in the late nineteenth century. As mentioned above, the addition of smoke stacks are clearly called for. I am considering positioning a pair through the "eye lid" ports. Something should fill the hole remaining after the removal of the original turret. A pilot house is called for, as I plan to place guns in the forward facing ports. The pilot house might cover the turret hole, but this would place it over the boilers and leaving a large blind spot right where vision would be most critical. The pilot house should be well forward. The addition of steam pistons on the legs would be nice if rather difficult to fabricate. Additional rivets seem a must. There are a few nice rivets already, but more would help convey the boiler plate type construction which is the convention for such machines. I rather like the current finish of the model, but the additions will require repainting, so an appropriate color scheme will be the next question. I personal am not a big fan of the "gun metal" look, so will review the decorative schemes used for steam engines and tractors of the 1890s.
Cutting away unwanted parts:

Using a razor saw I cut away the "Eye lids" of the original model to make way for the base of the
smoke stacks. Sadly this damaged the surface of the sloping deck as well. Some work with a
knife and sandpaper helped to clean things up.
Adding port covers:
Using a dividers I estimated the radius of the portholes left by the removal of the original ball guns.
Then using a compass style razor tool I cut circle of thin card to match size, score and fold to fit.
Using tacky glue the bits of card are glued into place to emulate hatches. Likewise, I cut a small
rectangle of card to cover over the opening left by the removal of the original pilots cockpit.
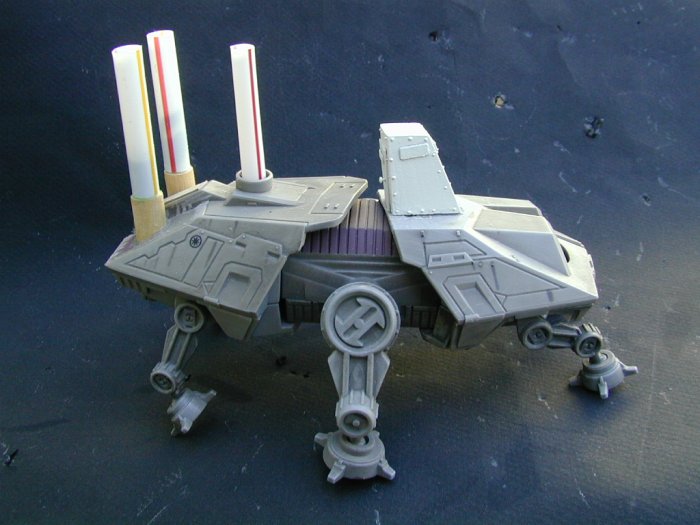
Adding Smoke Stacks:
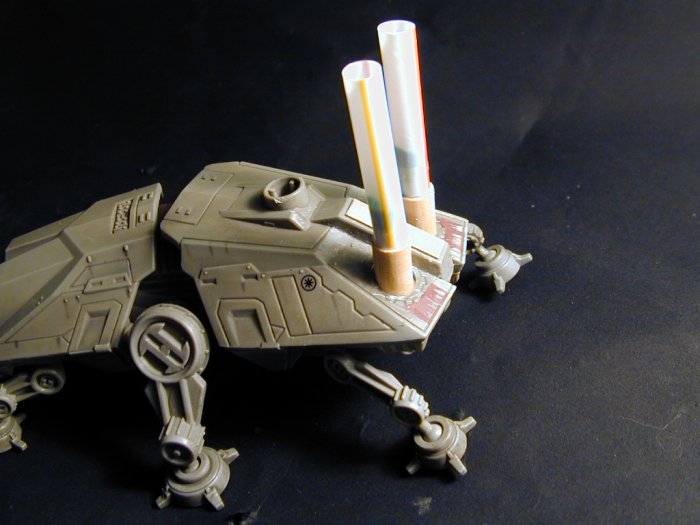
It add a more Victorian look, one must add smoke stacks in suggest the steam power.
In this model I have used plastic drinking straws as the raw material for the stacks.
I tried to match the size of the straw to that of the holes in the model, but found I had
no straws quite that large. I solved this problem by using wooden dowels as the base of each
stacks. I drill small holes into the top of each dowel section and glues a section of toothpick
into each. I then glues a length of paper to the toothpick and coiled the paper into a roll
of slightly small diameter then the straw. Using tacky glue I slipped the straws on and the pressed
a small ball of "Play-Dough" down through the top of the stack and pressed it down into the base with
another section of dowel. This helps to both center and secure the straw.
The Pilot House:

I decided to add a pilot house to allow the commander of the walker a better view then
would be allowed through the front portholes. Finding an appropriately size piece of wood,
I sanded and sealed the wood. A paper punch was use to create small hatches for the windows.
I enhance the model, I decided to add some rivets to the pilot house. The first step is
to drill small holes where the rivets will be.
Adding Rivets to House:
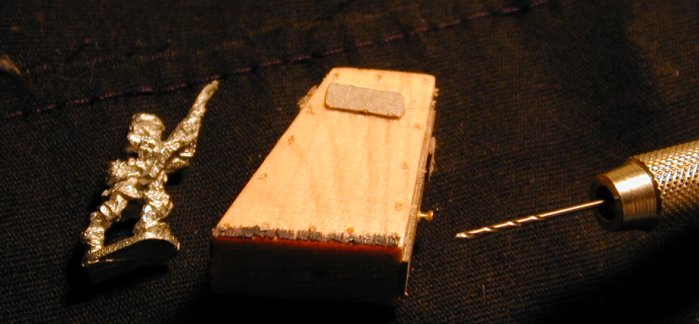
Using a pin vice and a very fine drill, I drill a sequence holes spaced to match where
I want rivets. The soft wood makes this very easy.
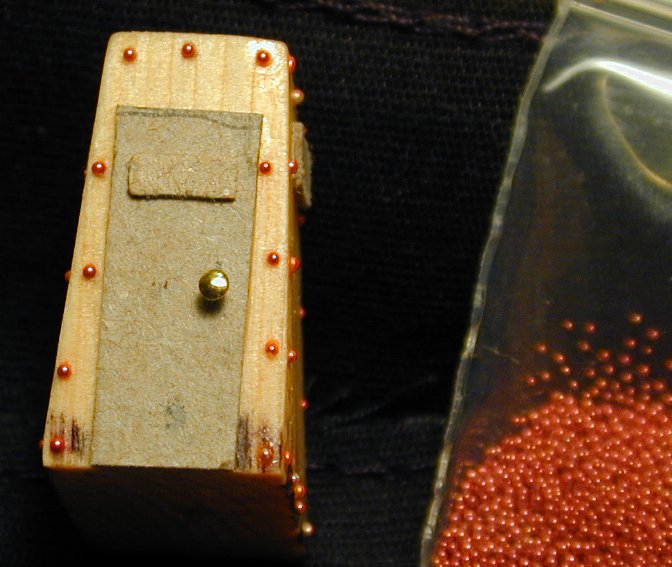
Adding "Glue in" Rivets:
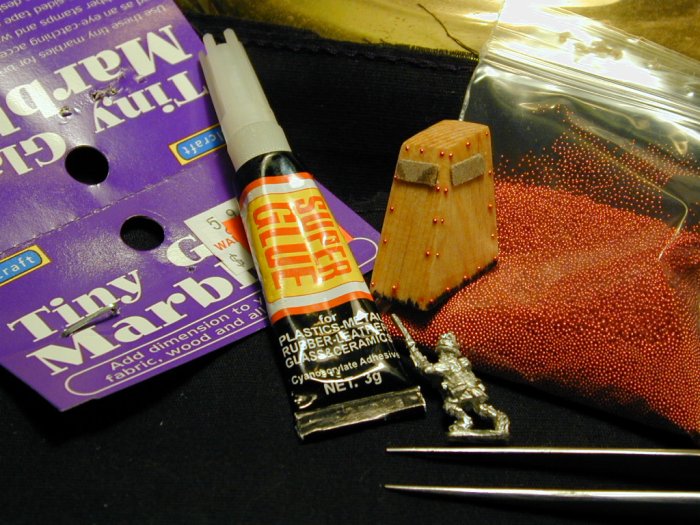
Here are the things you will need. Some small round objects to act as rivets. I found these
"Tiny Glass Marbles" in a craft store in the jewelry making section. I have been told that
by cutting open a water purification cartage one can obtain millions of tiny balls of the
exchange resin used to filter the water. Super glue is very desirable as it bonds well
without leaving a large glob of glue. A very fine tweezers and good lighting are also a must.
A very steady hand is also a big help.
Adding "Glue in" Rivets II:

The glue is placed in three or four holes at a time and the small beads placed and
pressed into place.
Adding "Glue in" Rivets III:
The pattern used is up to you, but I find the even just a few rivets can enhance the
look of a toy being converted into a VSF machine. Once finished, I gave the pilot house
a quick coat of white primer.
One could just glue this wooden model in place, but as this was quite a lot of work, and since I have several more walker to build I am going to cast multiples out of resin. To see how, you can, go to the casting page .
Placing the Pilot House:
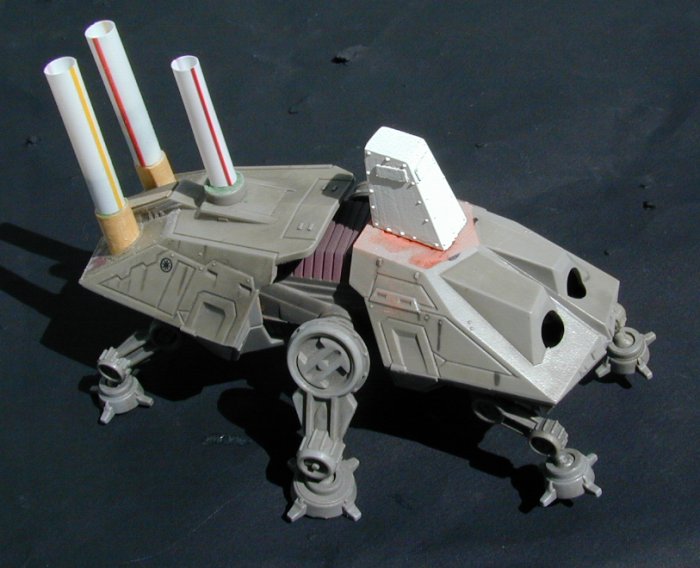

With the pilot house in hand, I needed find just the right spot. You can also see that I decided
to add a third smoke stack.
Working the Front End:

Considering the front of the walker, I thought some rivets and guns were called for.
Adding more Rivets:
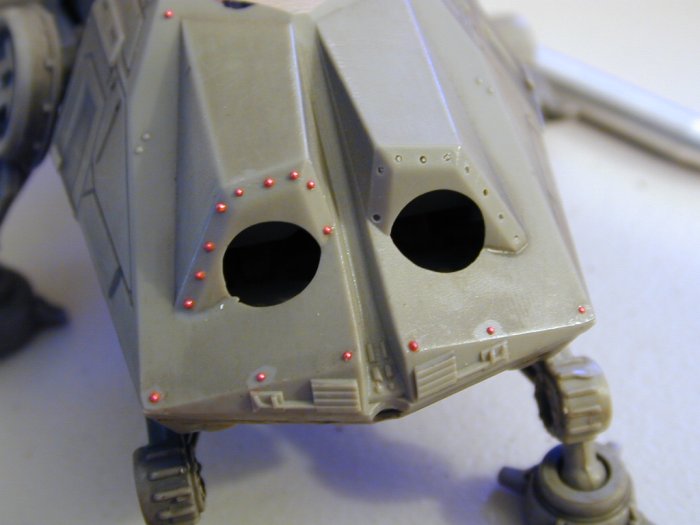
Using the same technique as on the pilot house, I added some rivets to the front end.
Building Guns:
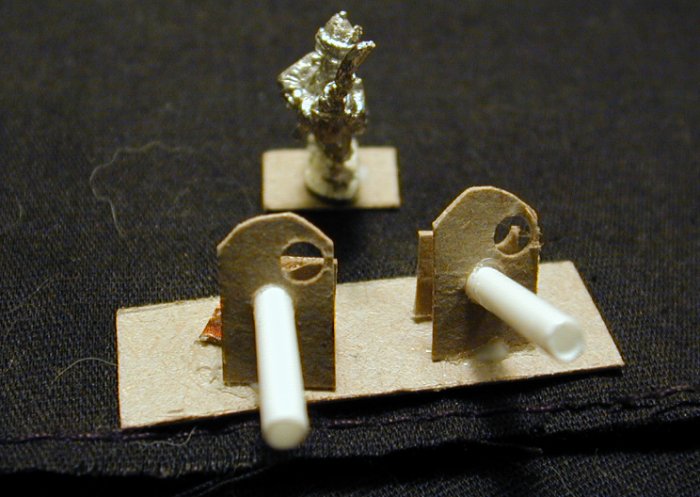
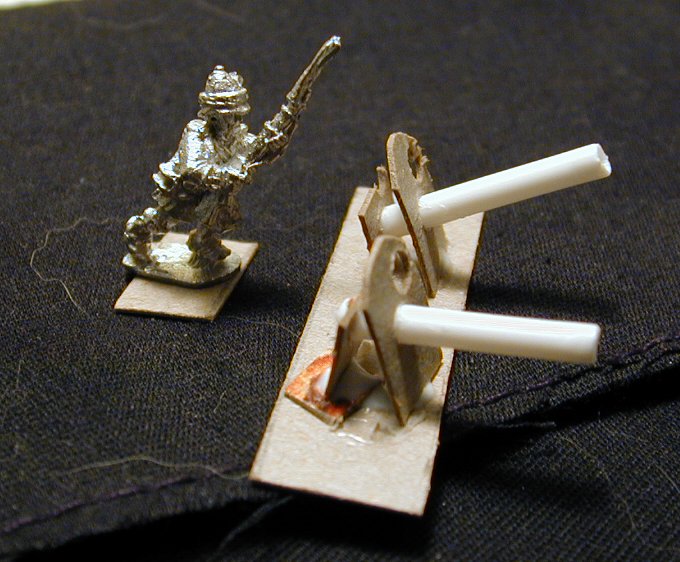
Sparing no expense, I fabricated these guns to fit the front portholes of the walker.
The base, shields and rear support are make from thin card saved from a cereal box.
The gun barrels are cut from the "stick" of a cotton swab. I think it was "Q-tip" brand.
The view hole and way for the barrel were punched through the card with a paper punch.
You can buy quite a verity of punches at a craft store, including round square and rectangular hole.
As these guns will be simply sticking out of the portholes, extra effort is not needed
to give the impression of working gun mounts.
A Quick Check:
I meant to prime the model, but ended up grabbing the wrong paint. It went on very lumpy.
I was going to strip it off to try again but saw it was epoxy based, making it almost indestructible.
I decided to lightly sand and scrap some of the paint away. It left a lumpy effect that is not that
different that found on cast iron parts, so I decided to proceed with it in place.
Priming:
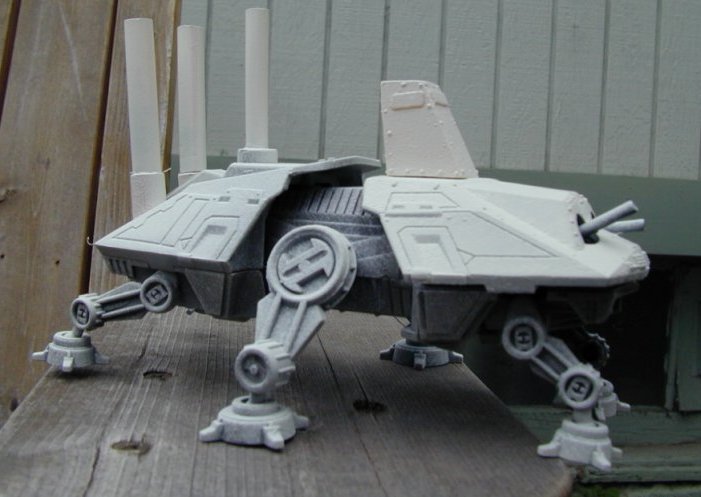
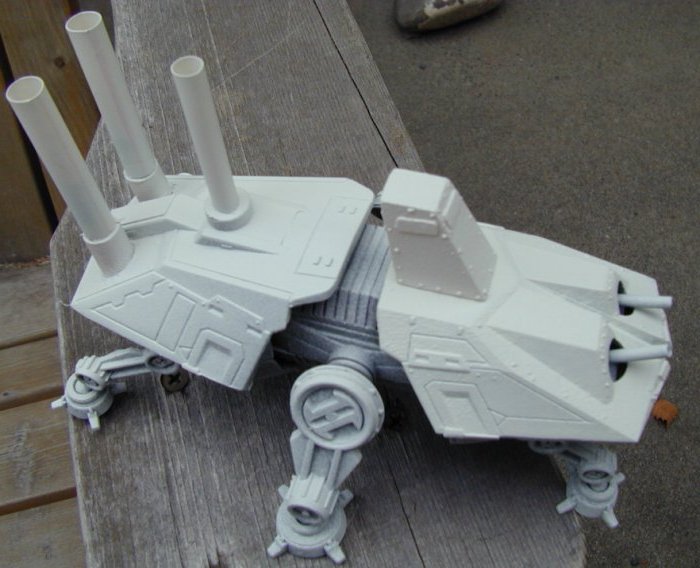
This the main of the work done, time to prime and look things over. I decided to scrimp on the
added rivets as this is just my first try. Once primed I will look it all over to see if
more surface details are called for.
Painting:
I ended up adding only a few porthole covers and a fueling hatch to the rear.
Now it is time to paint. I am, in fact, a very poor painter of models. I just can not
help but scrub the paint on. So I very much prefer spray painting, but since my move I have
not been able to find my air-compressor. So, if I want to get this done, it will be by brush.
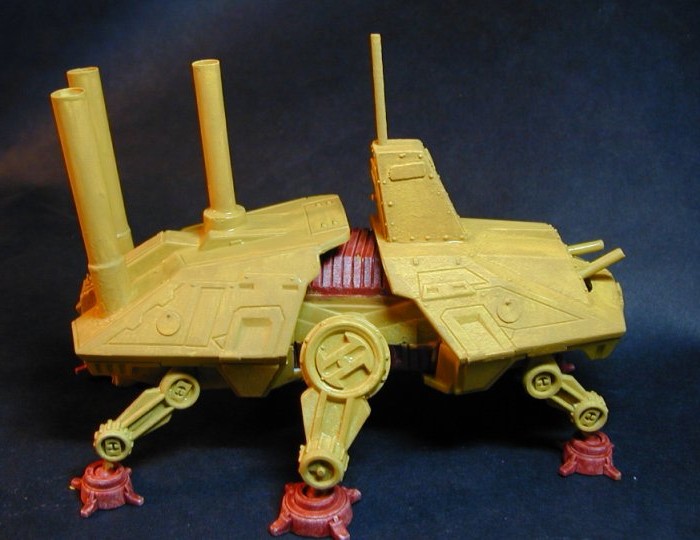
Looking over my scattered notes on which nations get which war machines. And this one
goes to the Ottomans. I am trying to keep some historical feel by using colors that at
least have some association to that nation modeled. For the Ottomans, yellow ochre with a black
stripe was used for much of the fleet in the C19th. The deep red seems to be the staple of
ship makers for the under water portion of the hull. This may have something to do with rust or
barnacle build up prevention, but I thought it makes a good contrasting color. I considered
painting the entire underside red, but decided to limit the area a bit. I will paint a
"faint" black line around the walker with a charcoal gray. It is important not to use pure
black for black paint, but only for darkest shadow.
Shadow Wash:
.JPG)
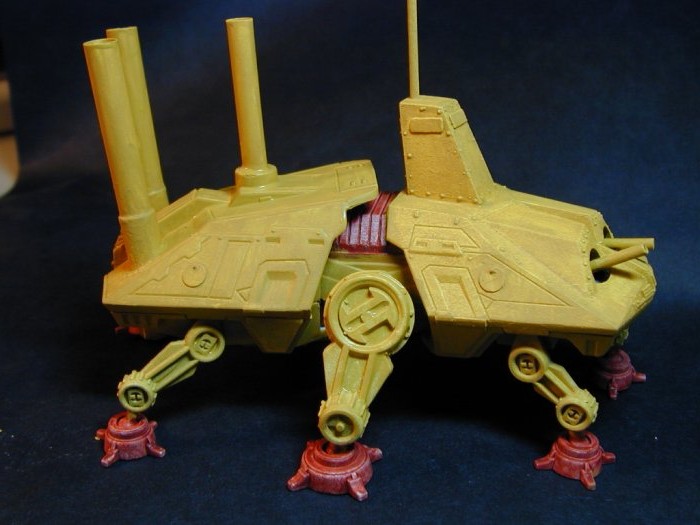
After the finial coat of paint, it is time to enhance the entire model with a shadow wash.
This technique is a variation of the Miracle Dip Method used for figures.
This time we use Future Floor Finish and black India Ink. The exact mix of Future, water and ink is
a mater a personal preference. I tend toward 70% Future and 30% water, with a drop on ink for 2 oz (50 ml)
of solution. I really just mix on the fly and dilute as I go. So, it is good to keep all of the
ingredients at hand. Using a large soft hair brush (water color brushes works best) paint on a
generous coat of wash over the model. Watch for pooling of ink in places you do not want. A dry brush
can be use to lift off extra wash, and a brush loaded with water can be used to dilute the wash to
prevent too dark of area.
Detailed photos of the Six Leg Walker have been added to the Model Gallery page.
.JPG)
.JPG)
.JPG)
.JPG)
These photos show the model still needing a coat of matte finish, but give you a pretty good
impression of the finial appearance.
To return to The Building How To page, simply click here.
To see the finial models go to me Battles page VSF Battles.
Or you can go to the Model Gallery Page.
Or to head back to the The Victorian Science Fiction Page.
For more inspiration go to my Victorian Inspiration page or
theMajor General's.
or THE AFRIBORIAN CAMPAIGN. pages.
I hope to be able to add more latter.
Thank you for looking:
DyeHard
![]()

|Over All Home
|What's New
|VSF Home
|My Other Hobbies|
|E-mail|

This work is licensed under a Creative Commons License.