![]()
One of my areas of interest is in "Victorian Science Fiction" or VSF, an alternative history where the scientific understanding
of the 19th century is fully true. And beyond that, many of the myths and wild dreams of the
age are likewise true and achievable. A common theme in VSF is that inelegant life is common in
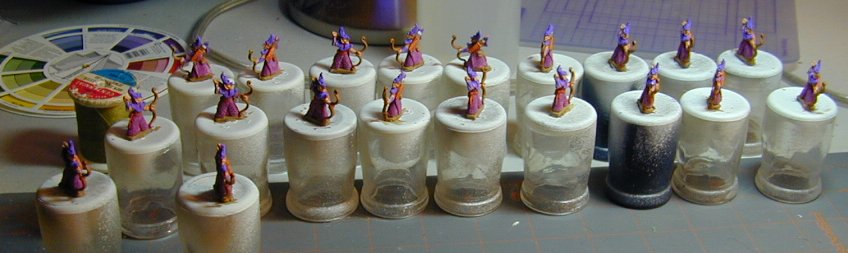
the solar system. Most notably on Mars. I have chosen to model my armies in 15mm to allow for
compatibility with some of my existing model armies. Working in this scale has both advantages
and disadvantages.
On the negative side, very few companies make 15mm VSF figures in this scale, and it is, as a result,
less popular among VSF players. The figures are quite small, and it is not easy to
impart a lot of character on such small castings.
On the positive side, there are lots of other 15mm 19th century figures and a few fantasy
figures to use as well. The small scale allows for very easy conversions, often just
by a change in painting scheme. Best of all, in 15mm you can afford to buy, store and
field a much bigger variety of forces. Despite being only a bit smaller (say about half the size)
or 25-28-30mm figures, the price of 15mm figures is often as low as $0.18 USD each. You can have an entire
unit in 15mm for the price of a single 25-28-30mm figure.
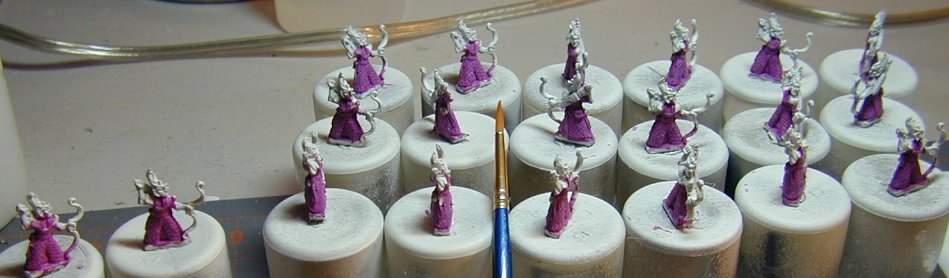
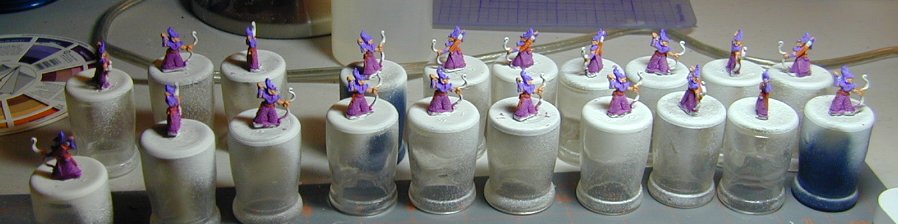
 I tend to start with the predominant color of the figure, and try to paint completely if not
carefully. My goal is to cover every part of the figure that will end up being that color.
If some part fall on other areas I do not concern myself with it at this stage.
I tend to start with the predominant color of the figure, and try to paint completely if not
carefully. My goal is to cover every part of the figure that will end up being that color.
If some part fall on other areas I do not concern myself with it at this stage.
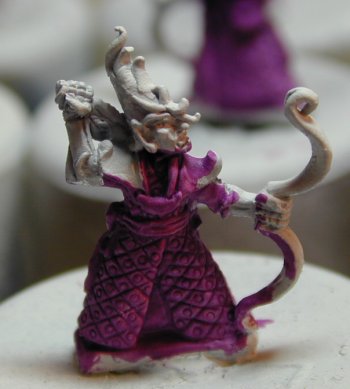
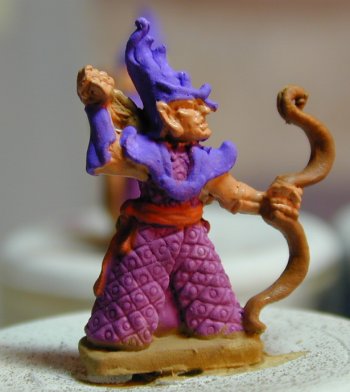
 The next color is chosen based on the idea of inside-out. Start painting those parts that
lie in the deepest cuts of the figure. In this case the flesh of the Martian.
The next color is chosen based on the idea of inside-out. Start painting those parts that
lie in the deepest cuts of the figure. In this case the flesh of the Martian.
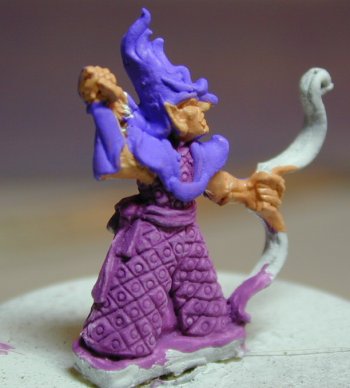 The third color finishes most of the remaining exposed primer.
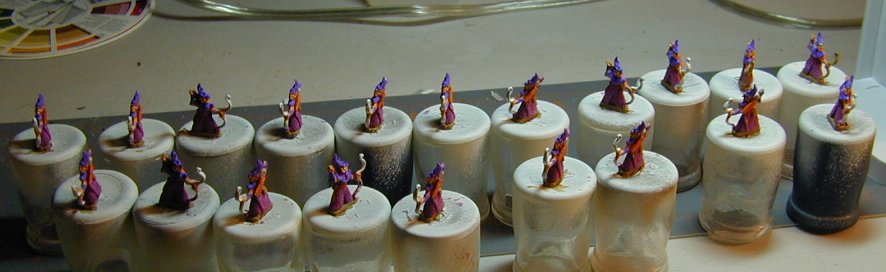
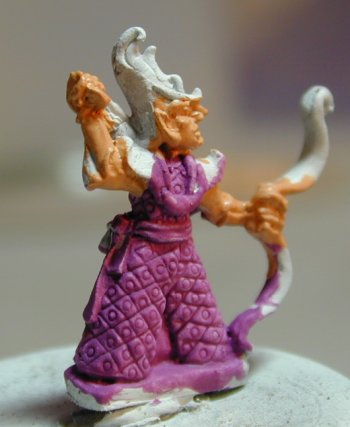
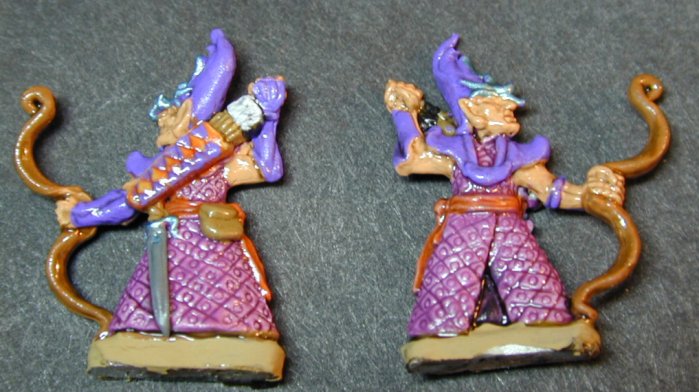
 Now we start working on the "details". Here the sash the acts as a belt for the figure.
 The small bag, arrow shafts and the base are painted a tan.
 And the bow gets a coat of red-brown.
Now is the time to go back over each figure with each color to pickup any missed areas or
spots of paint that have gotten onto the wrong place.

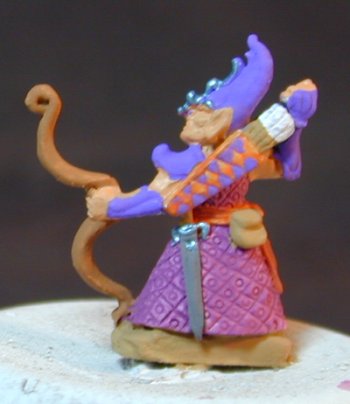
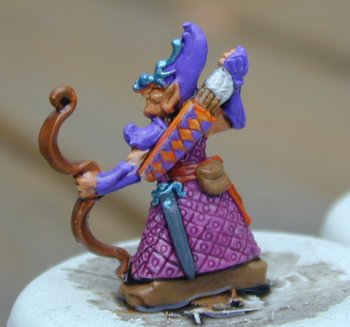
Now all of the original primer should be covered, and with any mistakes in the major colors
cleaned up. Now it is time for the rest, what can be called details. Items such
as sword scabbards, hilt and guard, small bags and straps, ornamentation, such as the crest on the
helmet.
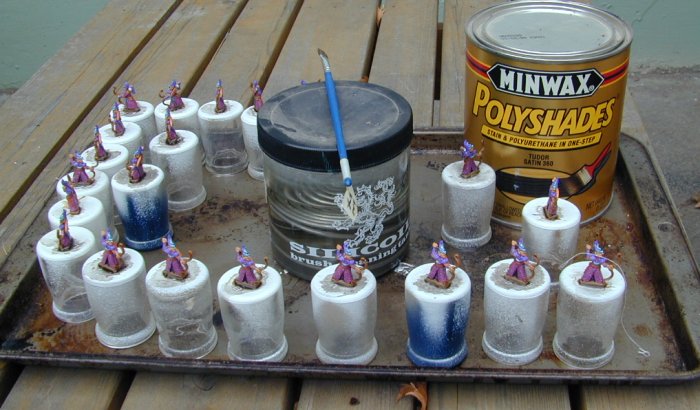
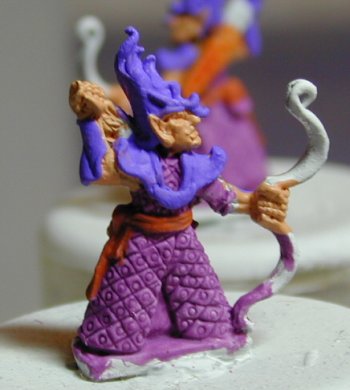
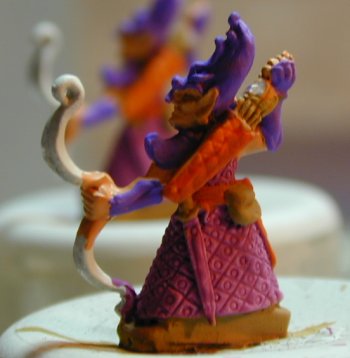
With all of the basic painting done it is time to add shading with the Dip Method.
This is covered in more depth on my Dip page. But is simply the use of the thin
stain to fill the reassessed areas while leaving raised areas much less stained. When using the Minwax,
I like to work outdoors do to the solvent the if released.
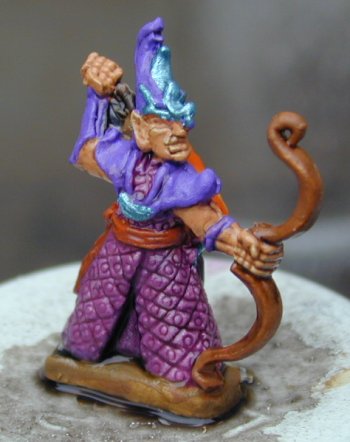
Even before the Dip has time to dry, you can see the enhancement of the
details, such as the fingers of the bow hand seen here.
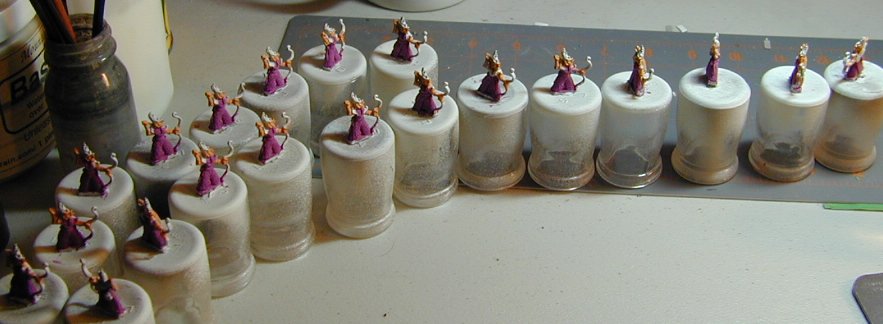
The Minwax takes quite a few hours to cure. I like to repaint the base of the figure once again
to avoid the look of the figure standing in a pool. The figures are now ready for mounting on their bases.
In the end I will give then a few quick sprays of the matte finish to cut the shine and to help
hold the flock and sand on the base.
Thank you for looking:
DyeHard
To head to my Home go to DyeHard's Home Page.
You can go to My Figure Painting here.
You can go to my VSF Battles page.
![]()


|Over All Home
|What's New
|VSF Home
|My Other Hobbies|
|E-mail|

This work is licensed under a Creative Commons License.