![]()
VSF is an alternative history in a world were steam powered technology is used to explore the world and beyond.
Victorian Science Fiction: How To Build A Landship
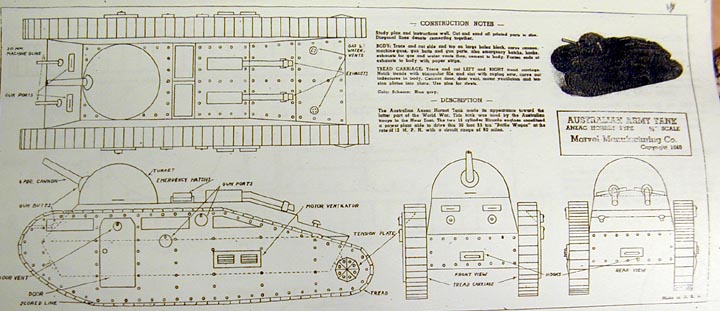
This was my starting point, plans from a 1940 Solid Model (blocks of wood with plans) of an Australian tank called the Hornet. I don't know if it is real or not.
I figured out the layout for a fold up cardboard model. A unit of Seebatalian examines the plans.
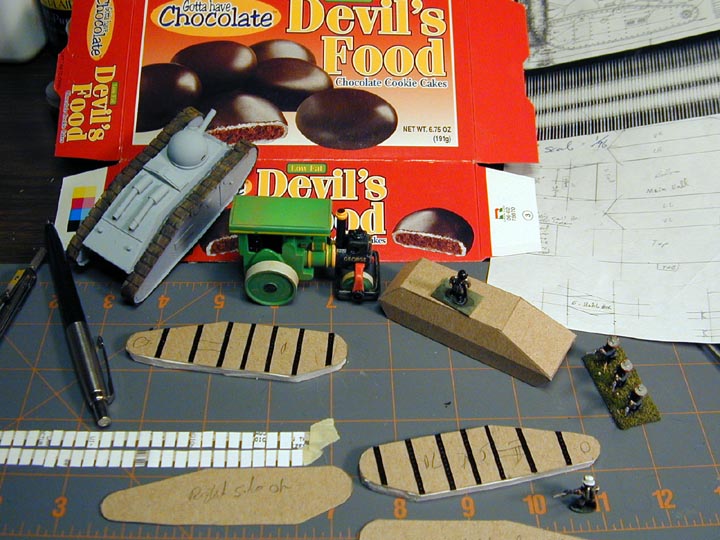
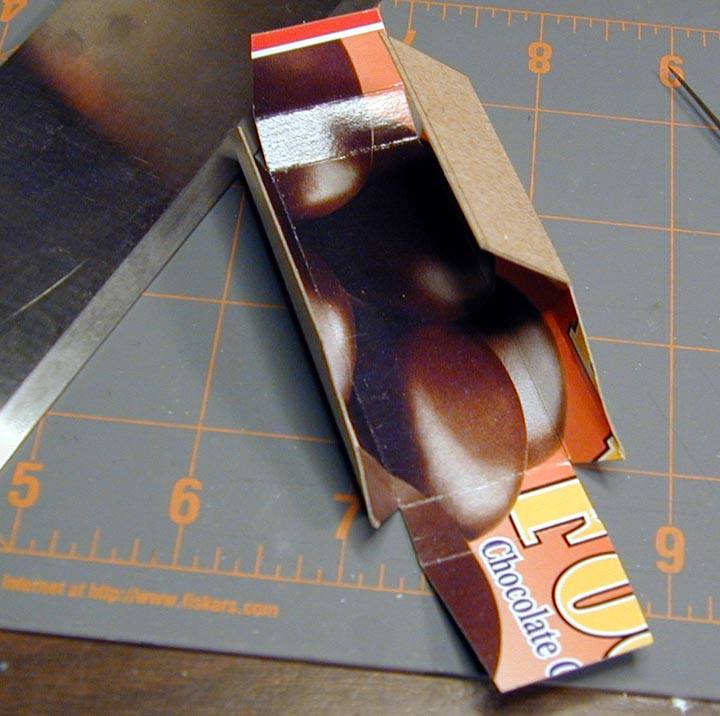
Here you see some work in progress. Another "Tank" or Landship. I decided to make look more primitive.
Some Germans seam very interested with the work.
I will have to eat more Devils Food for raw materials, good thing they are low fat.
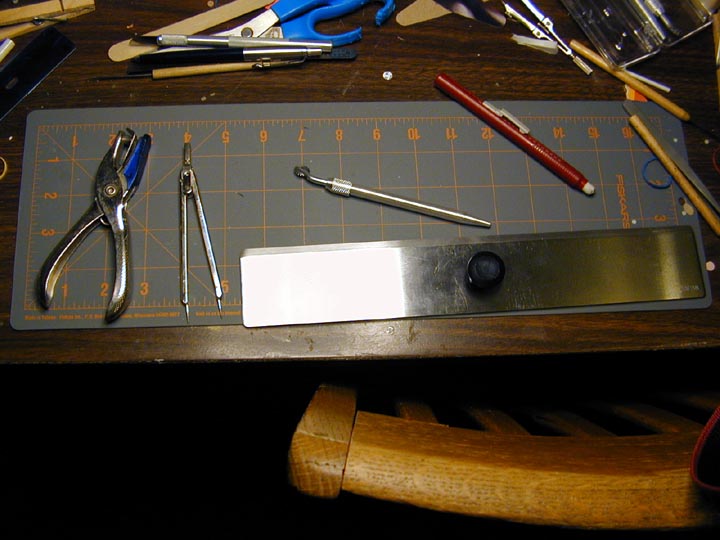
My work space and tools I used.
A quick run down: A cutting mat is very useful, I also use an old wooden cutting board, but this "self-healing"
type works very well for light duty, and saves a lot on the dulling of knife blades. From left to right: a good
old fashion paper punch (I use fancy ones from craft stores as well), A divider from a drafting set (all parts useful),
The pounce wheel (good from embossing rivets and to transfer plans), below it is the indispensable straight edge,
and an eraser pen.
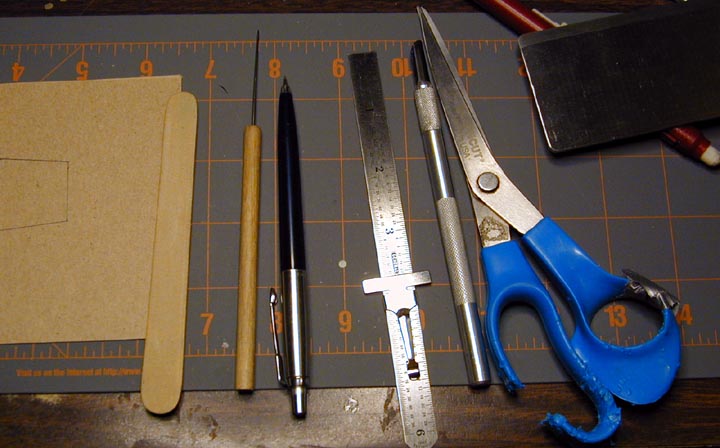
A closer look at some of the tools I used.
The emery board fingernail file is more useful then one could imagine, a probe from a dissection set (all parts useful),
An Eversharp or mechanical pencil (the content diameter of the lead makes for more exact drawings), a good rulers or two
will be needed, the ever useful X-Acto hobby knife (I re-sharpen them often until the blade is a nub), and of course how
could one build paper models with out some well-used scissors.
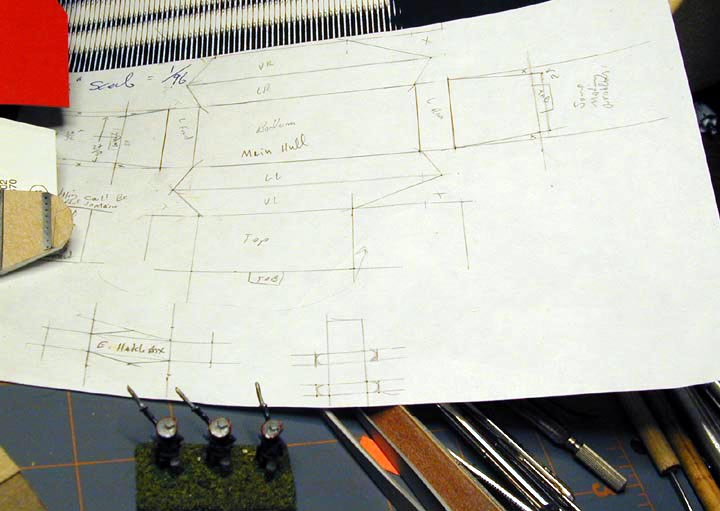
A photocopier use to reduce the 1/4th inch scale plans from the old solid model kit
I reduced to 50% of original giving me 1/8th inch to the foot, or 1/96 scale.
To make it 1/64th scale (good for 28mm figures) one would do a reduction to 75%.
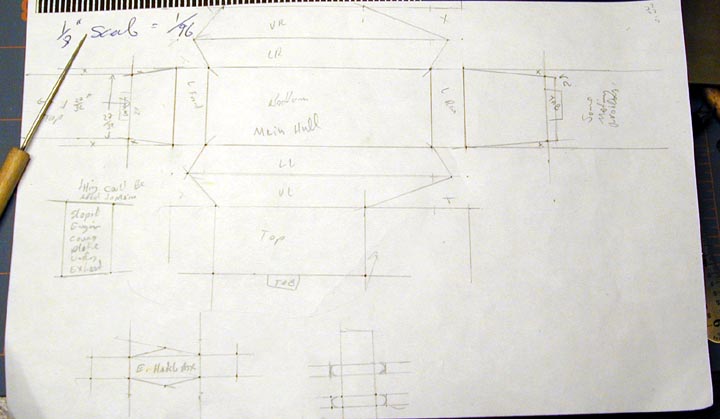
By taking careful measurements I created this plan for a fold-up model.
The dividers and ruler come to play at this stage. Be careful to keep square parts square. And some thought may have to
go into the effect of the thickness of your card stock on some dimensions.
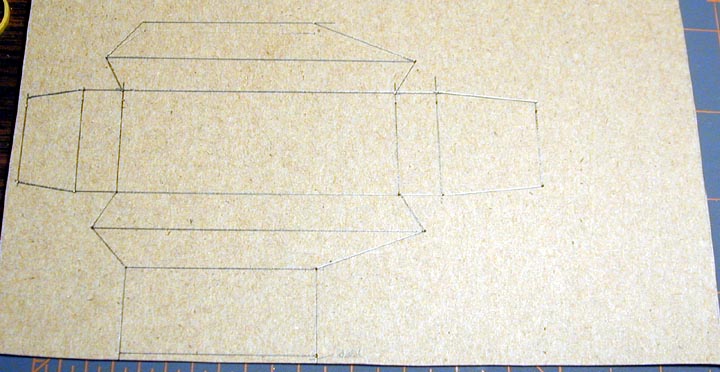
I transferred the plans to thin cardboard by poking holes through the plans and directly into the cardboard. I then played connect the dots with a straight edge and a mechanical pencil.
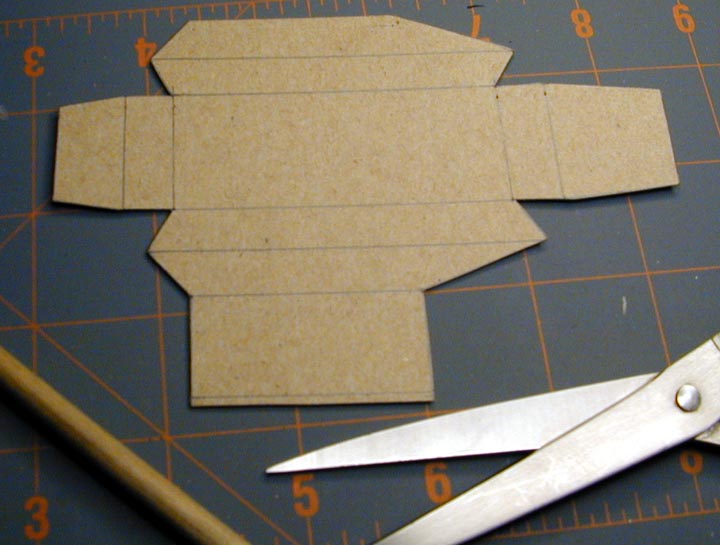
Cutting out the basic form and scoring the fold lines on the card.
It helps to "score" all the line where the card will fold into an edge. Scoring is the process of using a shape point to
weaken the card by impressing a groove into the card. The bulk of cutting can be done with scissors, but inside corners are
best done with a hobby knife. I like the rounded type poking the tip into the card right at the corner and "rolling" it
outward. This way I do not damage the body of the model by cutting into it too far.
Folding and gluing the basic hull into form.
You can see the effect of the scoring, it allows the fold to straight. Work slowing and use the straight edge to backup
your folds.
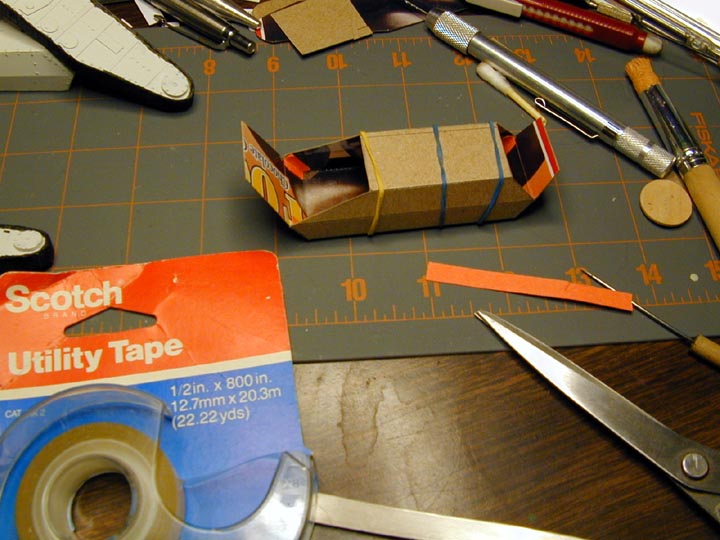
Working slowly helps, giving time for each joint to harden. Orange strips of
construction paper used to from tabs behind joints for added strength. I work the glue around with the tip of the probe
and hold it together with rubber bands and tape. Test the fit of parts before glue is applied. If you do mess up, you can
through things out with no monetary loss to you. It is a good low stress modeling material
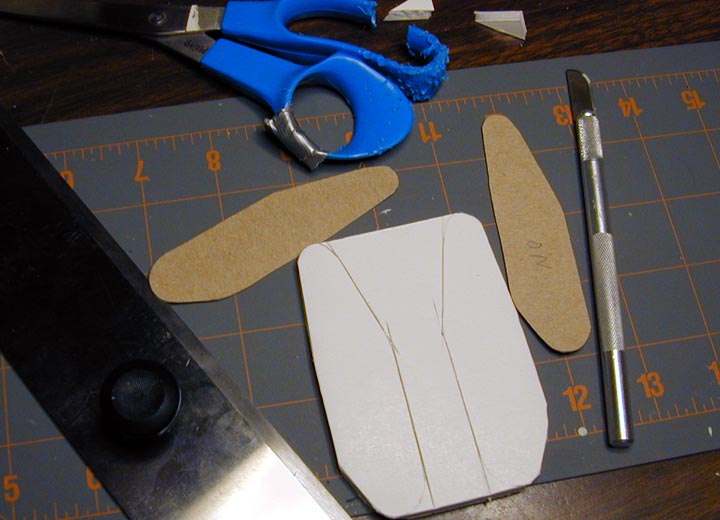
Laying out the shape of the tread sections on some FoamCore.
For non-square or irregular shapes, things can get tricky. This is where the exact scale drawing is so useful. You can
hold your parts right up to the planes, or even cut out the part on the planes to get a very exact fit. Here I made card
templates and transferred the outline to foamcore. Foamcore is almost like cheating! One could build this all up from card,
but why bother if the end result is what you want (I am a wargamer, not a modeler after all). For foamcore the X-Acto is the
way to go. And keep it sharp to avoid crushing your work.
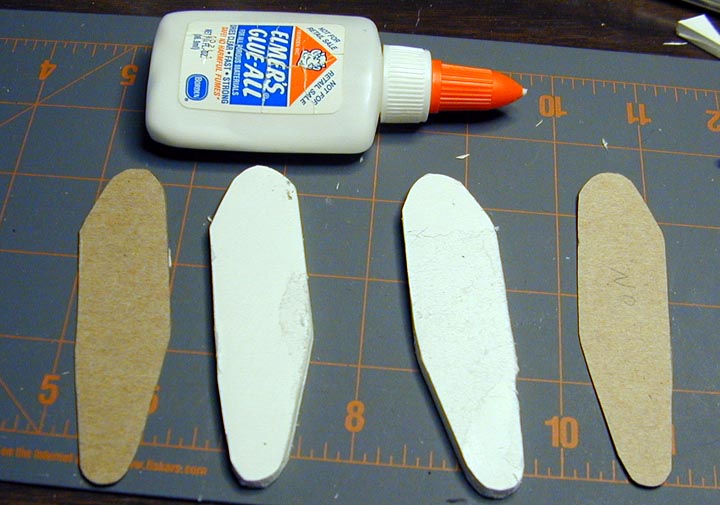
Once roughed out, the shape of the FoamCore is refined and cardboard cladding is readied.
I removed the shiny outer most layer of the Foamcore to let the glue hold better. I have sanded the surface to get the
same result as well.
Using some weights to hold the cladding in place while the white glue hardens.
Check the alignment of parts often as the card tends to float on the glue in this type of joining. Try to use as little glue
as you can stand.
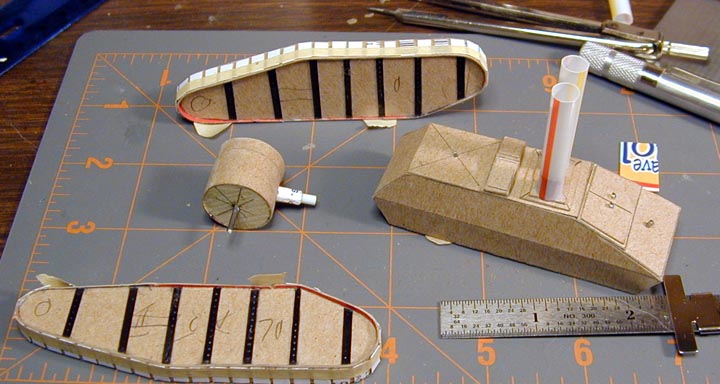
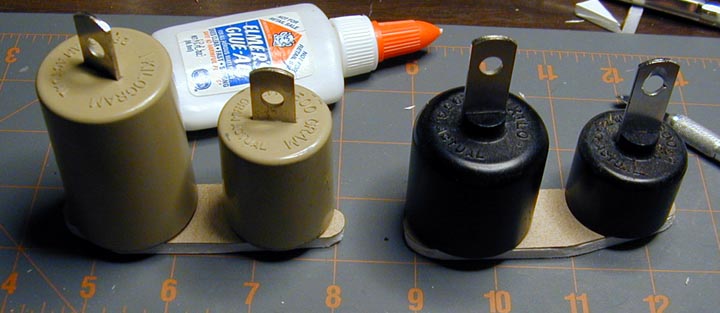
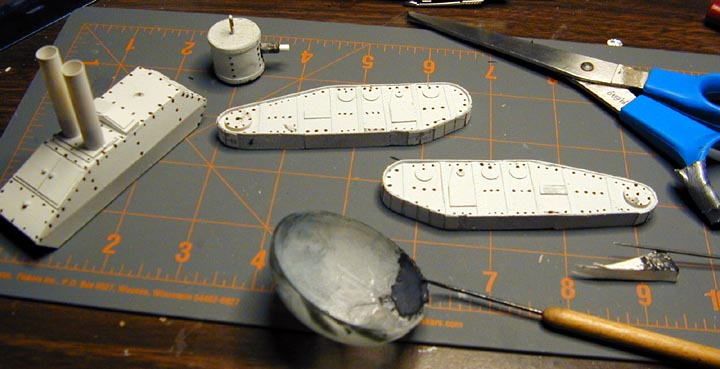
The sub-assemblies. Pin heads, small nails, and drinking straws used to add
special features to the Landship. Embossed X-ray film was use to make the riveted ribs on sides and some very thin card
was cut and aliened on some tape before being glued to from the treads.
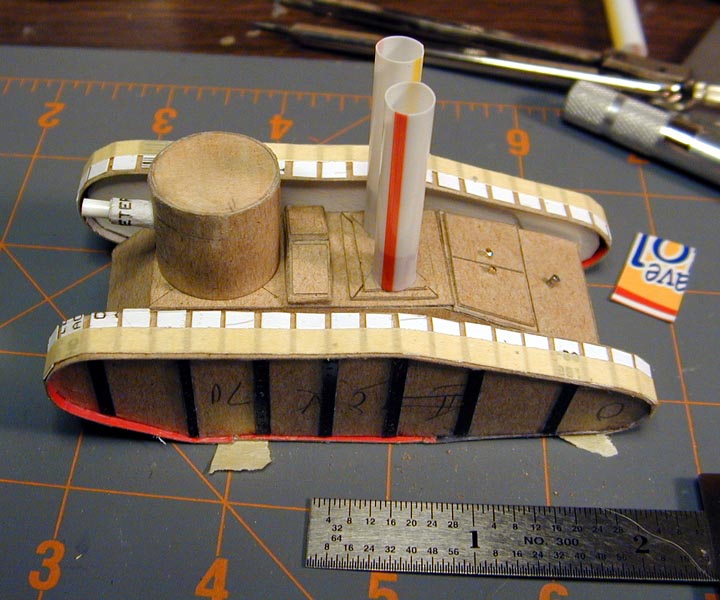
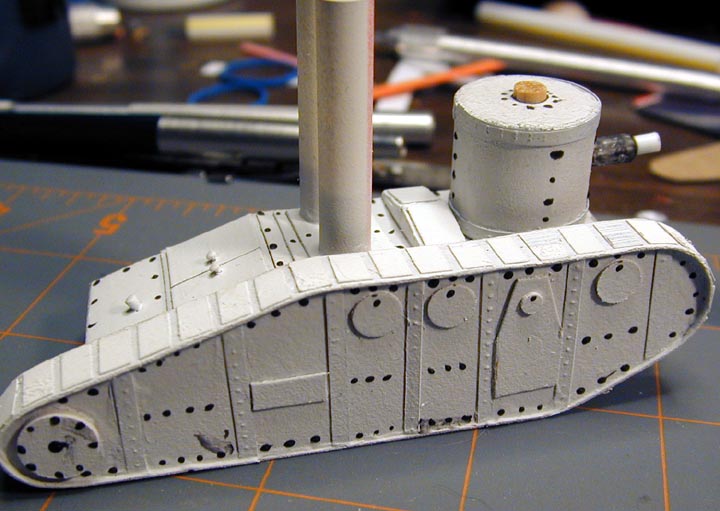
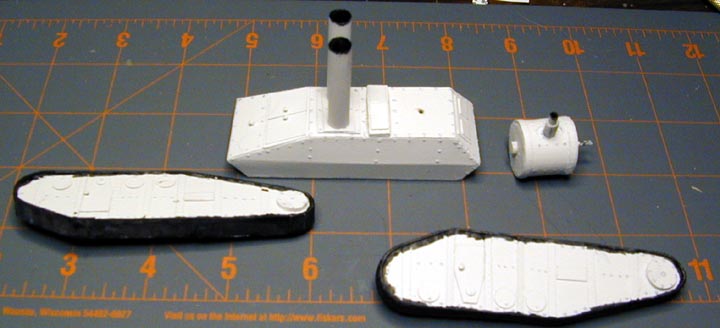
Checking the basic layout of the model.
You can see extra panels of card added to make doors and hatches, as well as the extra bits to give it more detail.
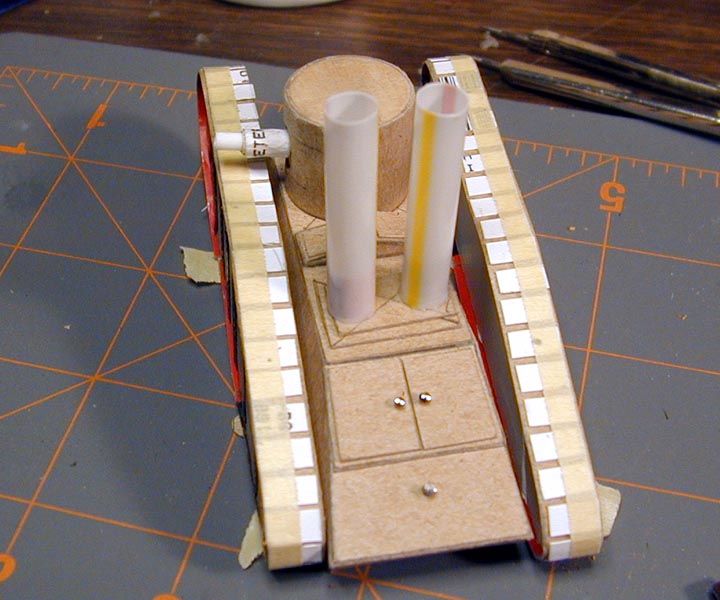
The coal loading doors and water fill cap as seen on rear of Landship.
This is all part of the joy of VSF models. You can imagine how things might work and then go to build it that way.
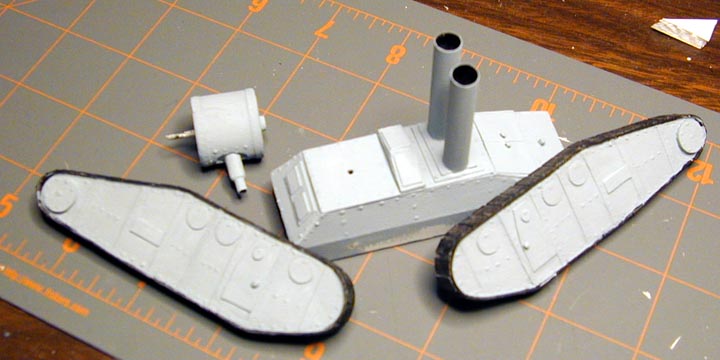
Adding some rivets. Here I mixed white glue and black paint to make rivets.
I use an old dissection kit probe to apply the mix. Any needle would work, but
I have lots of these in my tool box.
Just a quick look to check the layout of the rivets.
Painting on some black.
First coat of basic color, a light blue gray.
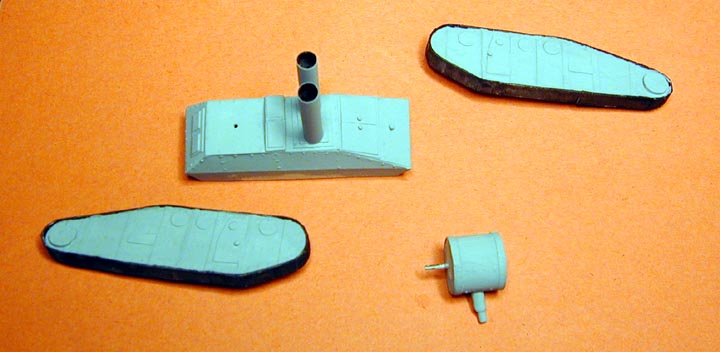
Here we see the parts on a different background to show color.
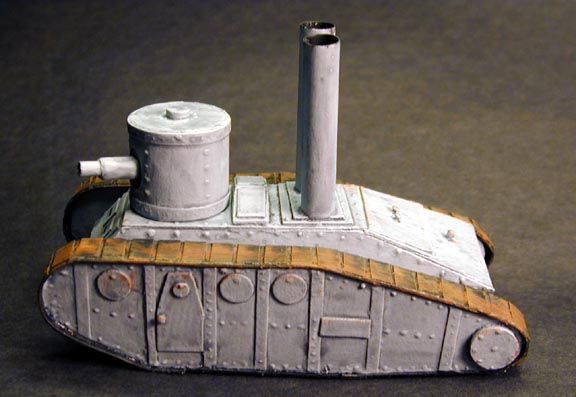
The finished model. Also see the Models page.
To see the finial models go to me Battles page VSF Battles.
Or you can go to the Model Gallery Page.
Or to head back to the The Victorian Science Fiction Page.
For more inspiration go to my Victorian Inspiration page or
theMajor General's.
or THE AFRIBORIAN CAMPAIGN. pages.
An excellent paper model of an W. G. Wells inspired Landship can be found here.
More to come soon:
To return to The Building How To page, simply click here.
Thank you for looking:
DyeHard
![]()


|Over All Home
|What's New
|VSF Home
|My Other Hobbies|
|E-mail|

This work is licensed under a Creative Commons License.