![]()

The basic item could be used right out of the box, but to allow it to blend into my terrain
scheme more effectively and to add some realism to the palm I decided to give it an overhaul.
The short comings I saw were: the very plastic appearance, the contrast in color between leaves
while the uniformity within branch sets, the sudden rise from the table top of the base and the
fact that all the trees were identical. Re-basing and painting seemed to be the way to go.
I snipped the trunks free of the original base and pulled the branch sets off for separate
painting. It would have been wise to wash all the parts with detergent to remove the grease
that is left on the surface of such plastic items from when they are made. Sadly, I neglected this
important step. All the parts will end up being used, even the base use used to make a
mound after some slight trimming.
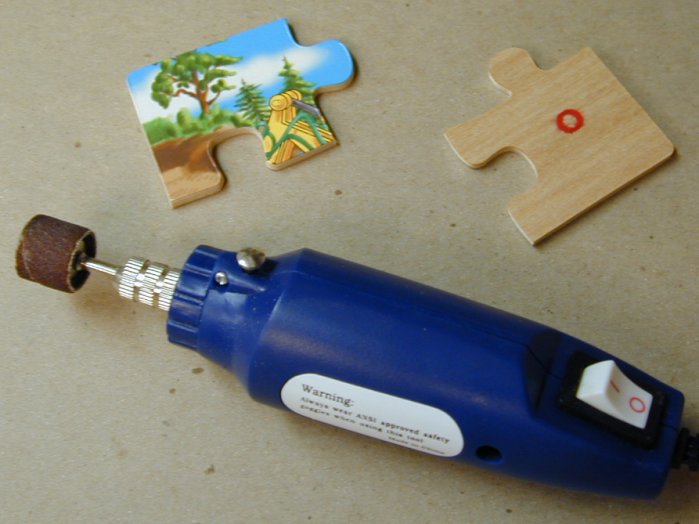
With the "which side up" matter settled, I preceded to bevel the edges of each part.
This is to prevent the appearance of a sudden step up on the jungle floor. I used a
cheep rotary tool with a sanding drum. A rasp or course file would work as well.
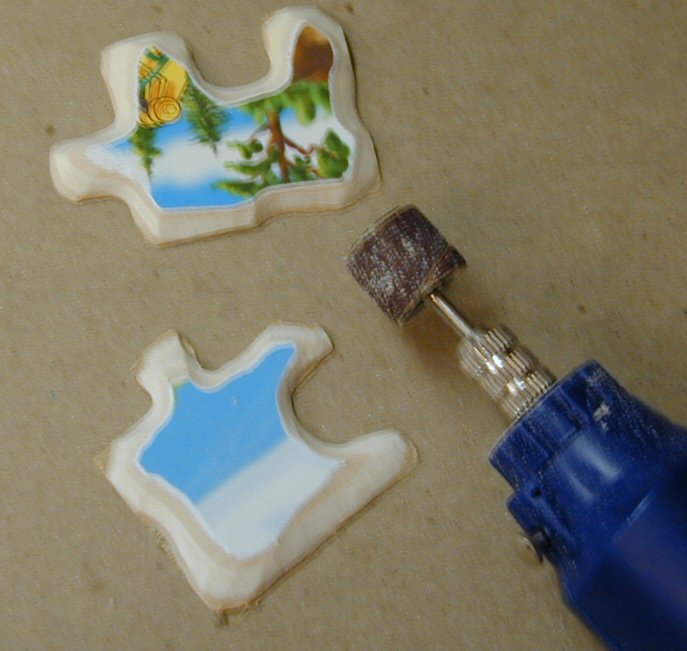
A mounted belt sander can make very short work of such a job. (Sorry about the focus!)
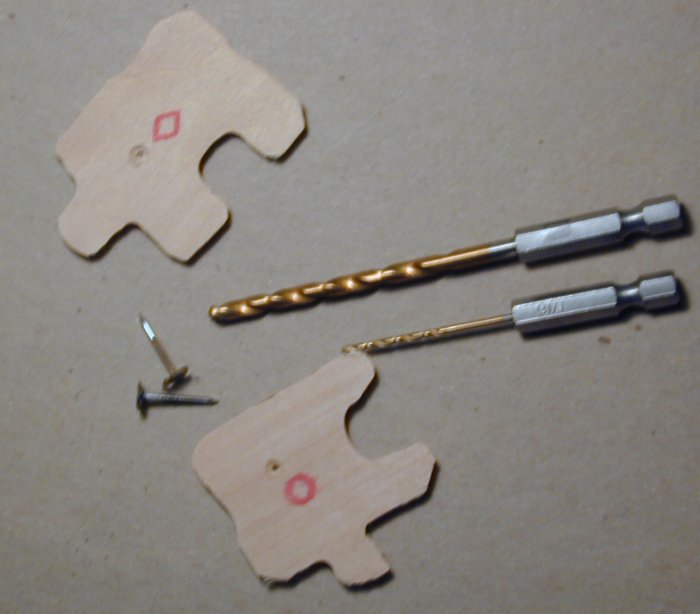
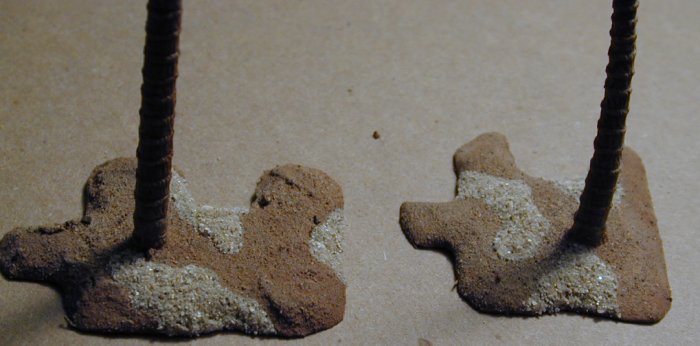
In order to securely mount the trunks to the base I decided to use small nails over which
the plastic trunks will be placed. To secure the nails, and thus the trunks,
I drilled holes through the base and counter sunk the hole to allow the nail heads to sit
in the body of the plywood. This is important to allow the base to sit flat and steady
on the table surface.
I counter sunk some holes into the truck to allow then to be slid over the points and
shafts of the nails. I use a drill that is slightly smaller then the diameter of the nails.
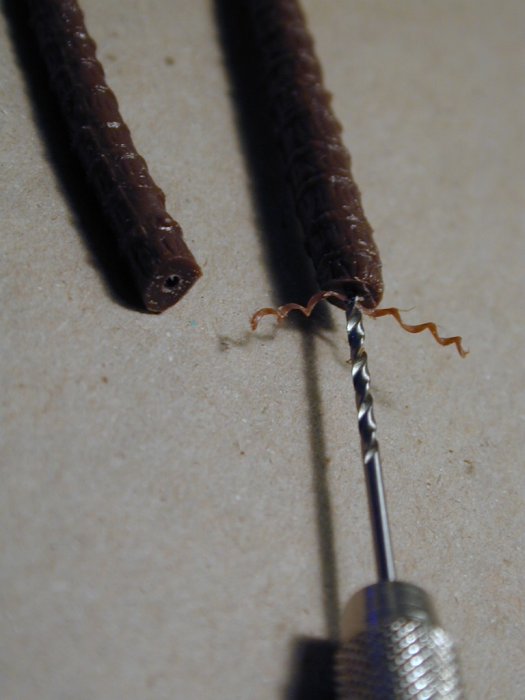
Alternatively the nails could have been heated and the trunks pressed home while they are
still hot. This would have allowed the nails to melt their way into the plastic trunks.
I prefer this more controlled and safer method.

With the trunks secured, the bases were covered with adhesive and coated with fine wind
blown sand. This is then painted with a thinned wash of
a medium brown acrylic paint and the trunks are dry brushed with a tan to bring out some
on the molded in detail and texture.
Next random patches of builder's sand are added.
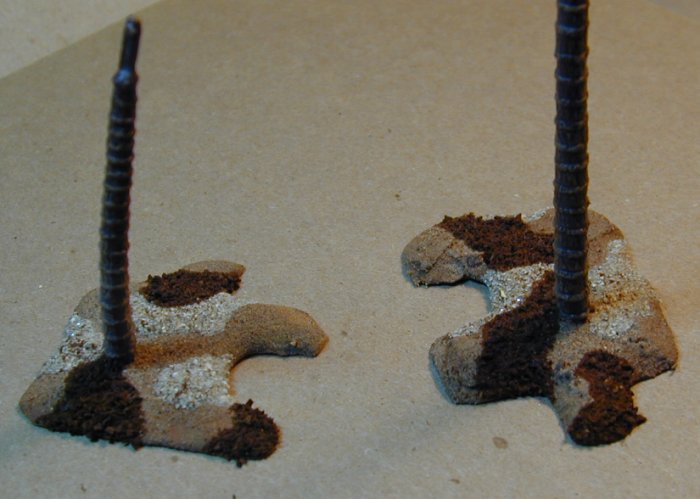
Then patches of used coffee grounds to simulate
decayed plant matter.
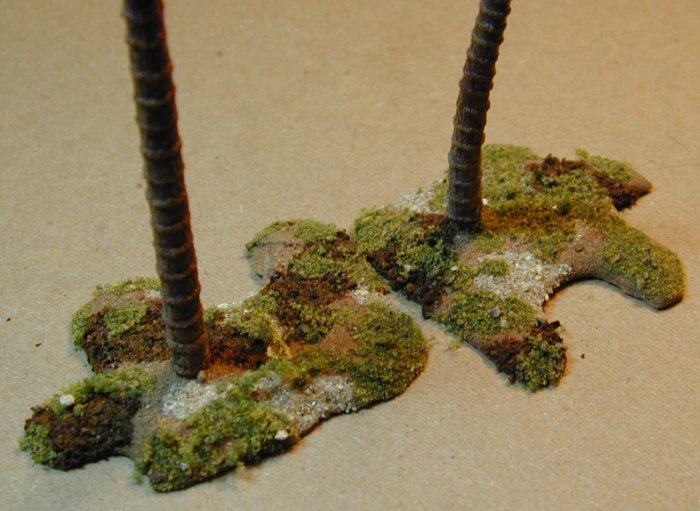
Using matte media thinned with Future floor finish as an adhesive, flocking
is added to model living plants.
The finial texture to add to the base is a smattering of used tea
salvaged from old tea bags. This should tend to collect about the trucks as fronds die and fall
from the tree.

After removing the branch sets from the trunks and securing each to a convenient handle, I
first painted then with a dark shade of green. This paint was on clearance at a Wal-Mart
and was intended for "Plastic". Basically a nice think craft style acrylic paint which
dries with a gloss finish. It bond quite well to the fonds, especially considering my failure
to properly prepare the parts by washing them. The paint job is by no means complete, the simply
splashed paint on quickly leaving much of the base color showing especially along the
edges of the fronds.
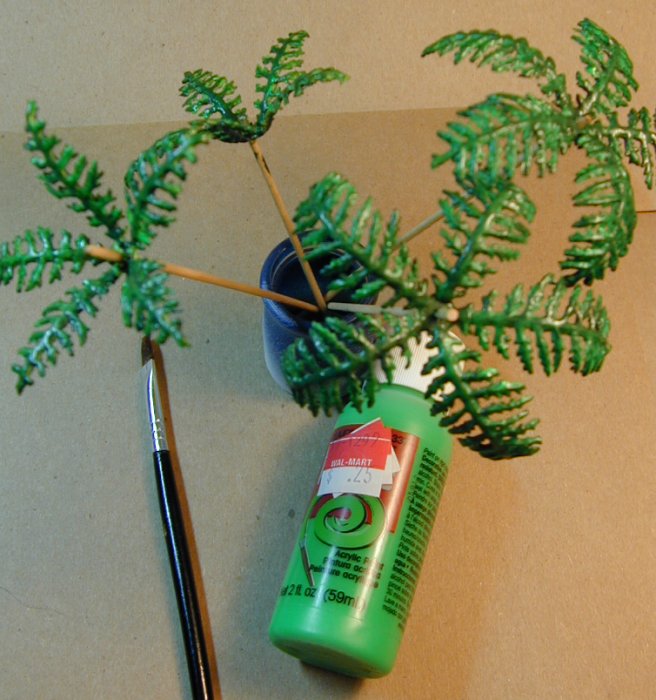
Next a quick brush over with a much lighter shade of the same style of paint.
.JPG)
All that remains is to reassemble the tree. A small dab of glue helps to hold the fronds and branches
in place. A quick spray with a matte finish will help to hold down the shine and to secure the
scatter materials .
You may click on the following to return to the Master Terrain page.
You may click on the following to return to the Victorian Science Fiction page.
I hope to be able to add more latter.
Thank you for looking:
DyeHard
![]()
To head to my Home go to DyeHard's Home Page.


|Home
|What's New
|VSF
|My Figure Painting|
|LINKA
|Models
|E-mail|

This work is licensed under a Creative Commons License.