Brick Ruin #1Brick Ruin #1
Making an inexpensive brick walled building ruin in 15mm/18mm/20mm or HO Scale:
I wanted to get started with my new project, but with no miniatures and living on the road, an alternative approuch was called for.
I decided to start with building some terrain.
The 1910 landscape calls out for some classic American brick buildings
The building of some ruins was greatly aided by the finding of some free Foam-Core poster mounting bourds.
For those who have not work with Foam-Core, it is a foam sandwitched between two sheets of card (often with a slick platic sheet as the out most layer).
I like to remove the plastic coating or otherwise rough up the out surface. The free used samples I found where already good to go.
I strated with some very thin plywood for a base.
Cut to size, beveled the edges and primed black.
The priming may not be needed, but on thin bases, I find it help reduce warping.
I am using an HO model railroad kit as a guide to scale.
Now, technicaly, HO models are 1/87th scale and 15mm are closer to 1/107th scale.
The exact size od any line of wargaming miniature can vary greatly. The new "All Quiet on the Martian Front" miniature are stated to be 18mm, but this is still poorly define.
However, the wide selection of HO model railroad scenic kits for US structures makes this a resoures too rich to pass up.
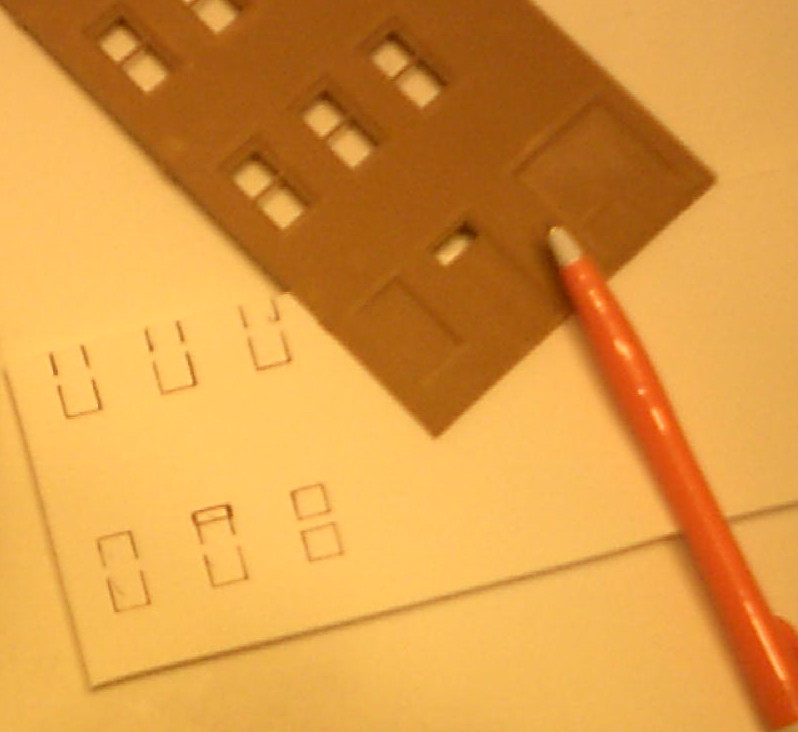
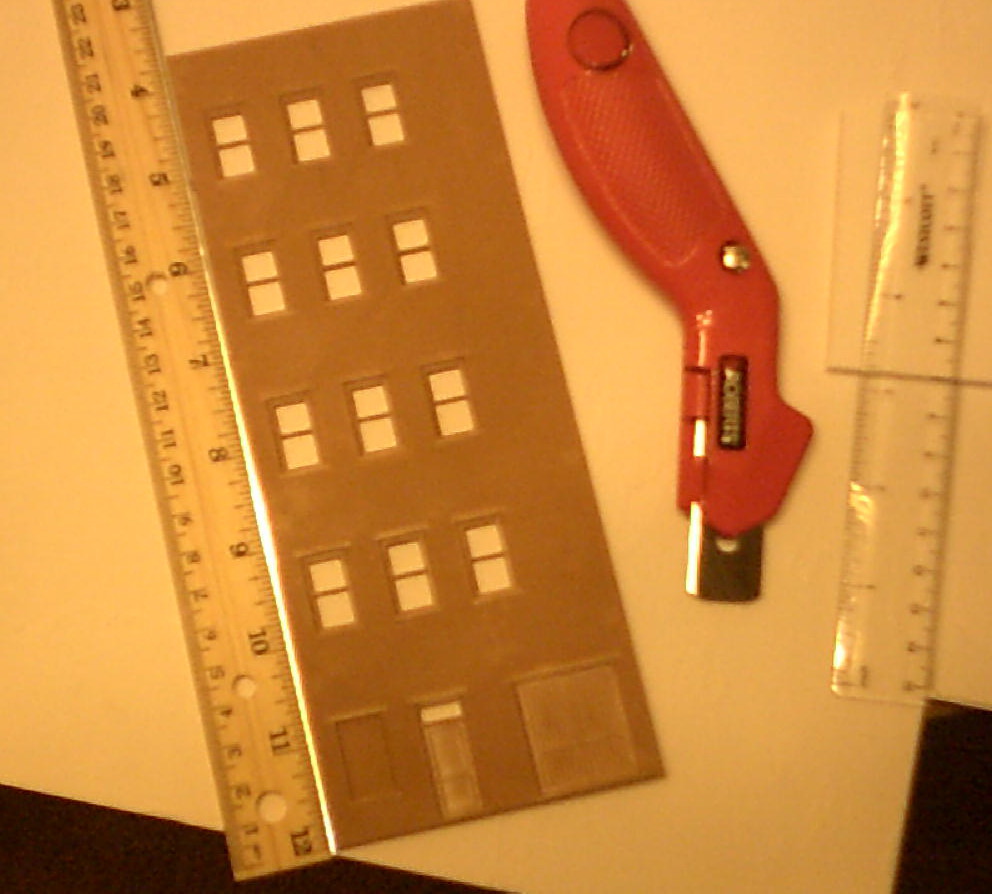
I measured the windows and doors, but simplt tracing through the openings in the model's wall gave me a very qick start to the layout.
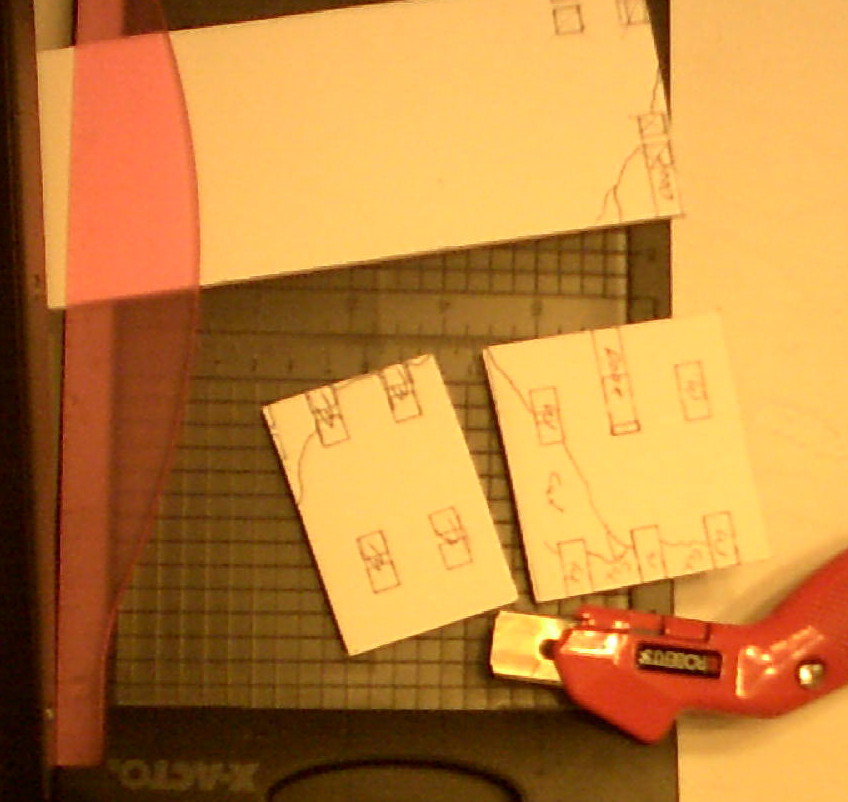
I finished up the basic plans and layed out the damaged sections.
Limiting this ruin to two stories just about the top of the secound story windows makes for a nice size and reduces some of the complications of cutting the foam-core.
Foam-Core is both wonderful and a pain. You need to use a very sharp knife. A new blade is very helpful.
I like these carpet cutting knives. The blade is held very tightly and is held at a good cutting angle.
It may still take several passes to cleanly cut through the board.
X-Acto, other hobby knives or surgical style scalpules to make the interiar cutts for the windows.
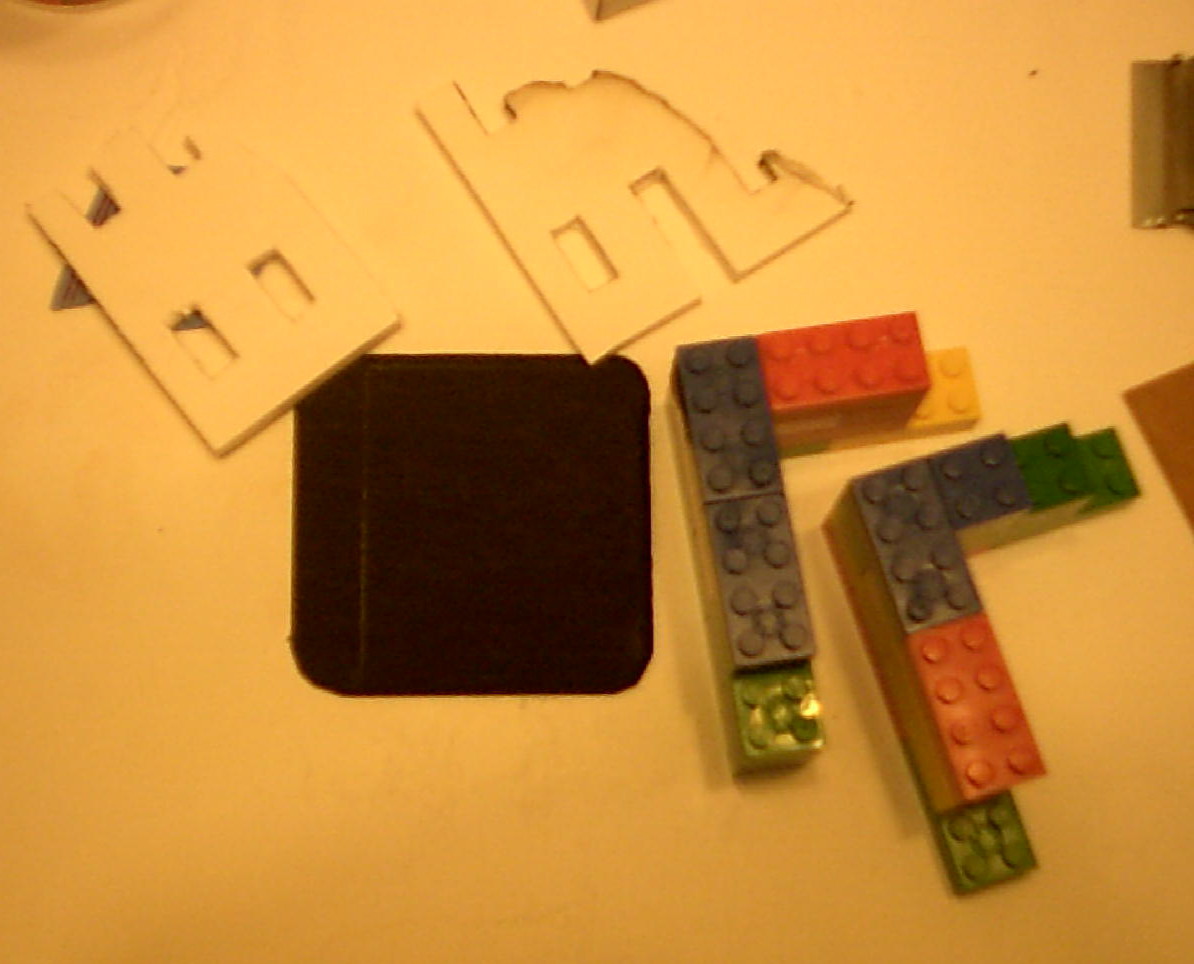
To align the wall section nice and square, I find Lego style blocks work very well.
Just build up two corner sections out of handy blocks, and use them as a guide for the glueing of the wall sections.
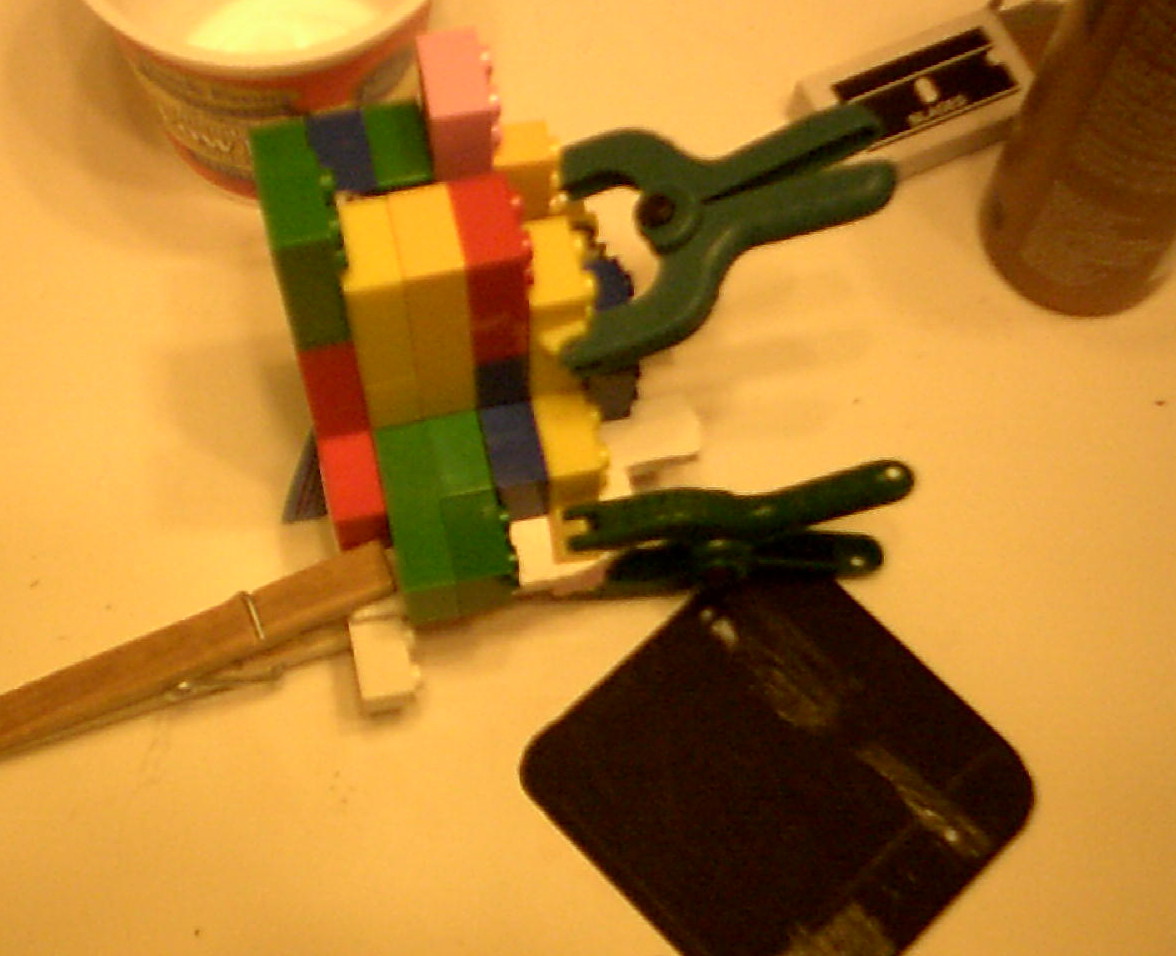
One and even use them with cheap clamps to hold the work while the glue cures. Use PVA (white glue) such as Elmer's for foam-core.
It does not attack the plastic of the foam core and binds the card clading well.
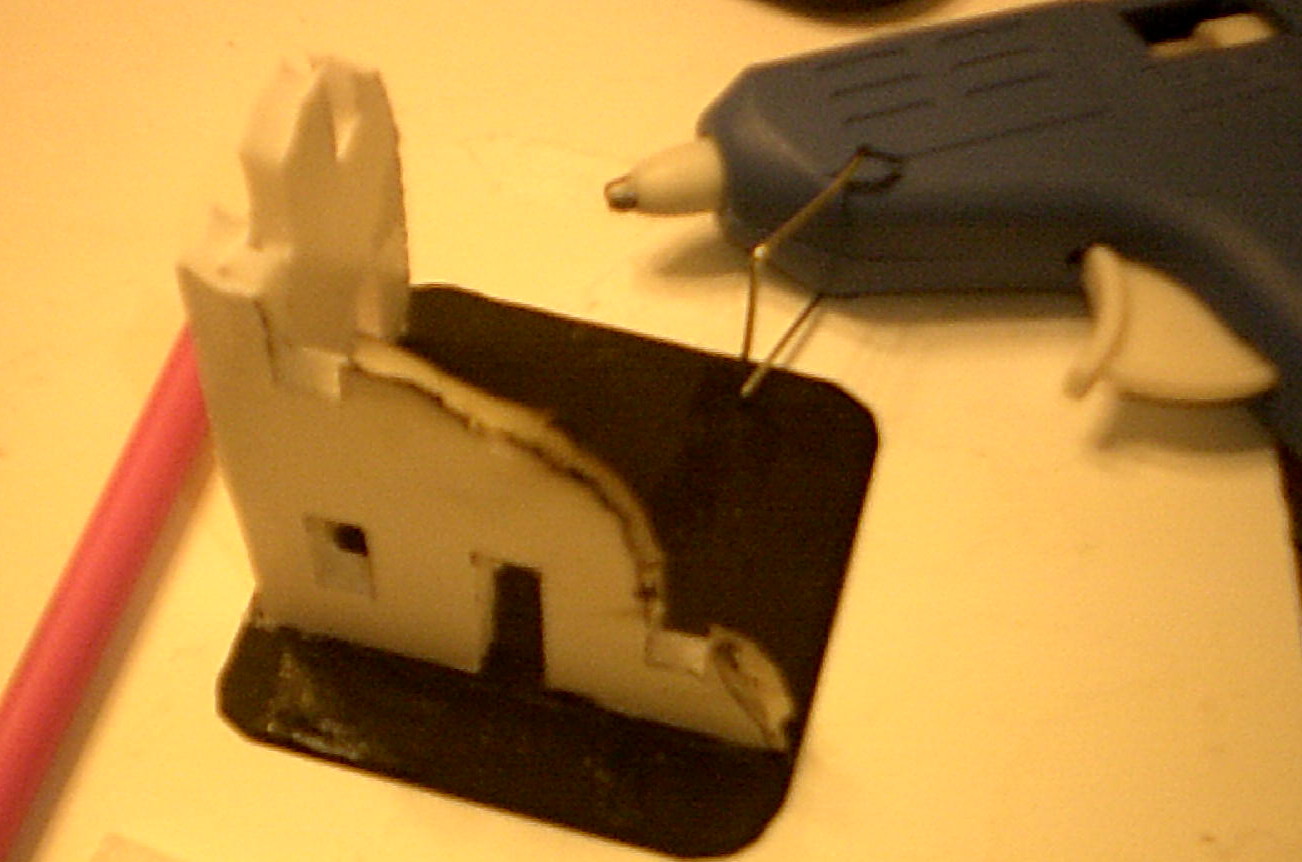
Here I have used a low coast hot melt glue gun to lay down a bead of glue to secure the wall sections to the plywood base.
The hot melt glue cures quickly and remains flexible, however I like to secure wargaming items with something a with a bit more holding power.
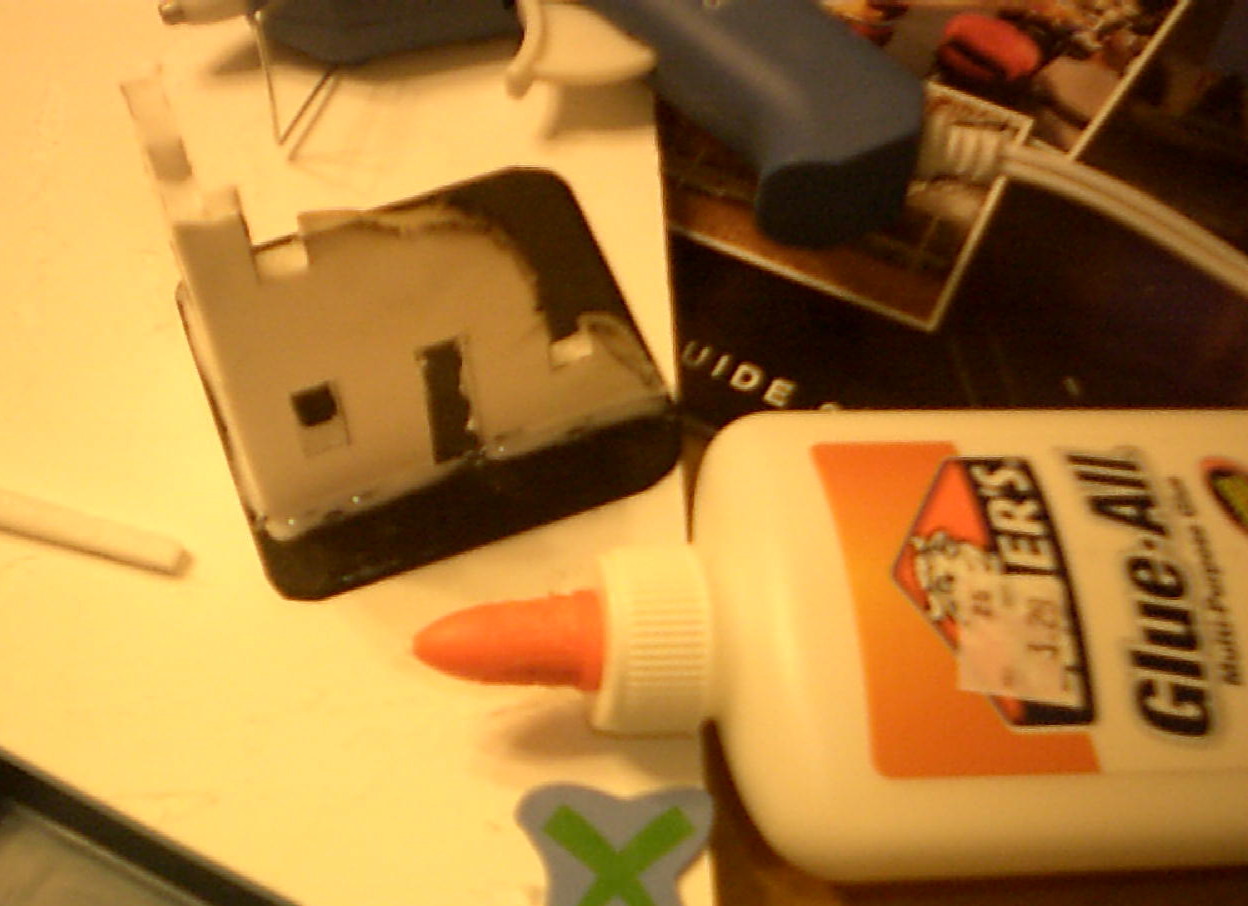
For this I have run a bead og PVA around the entire wall section where it makes contact with the base.
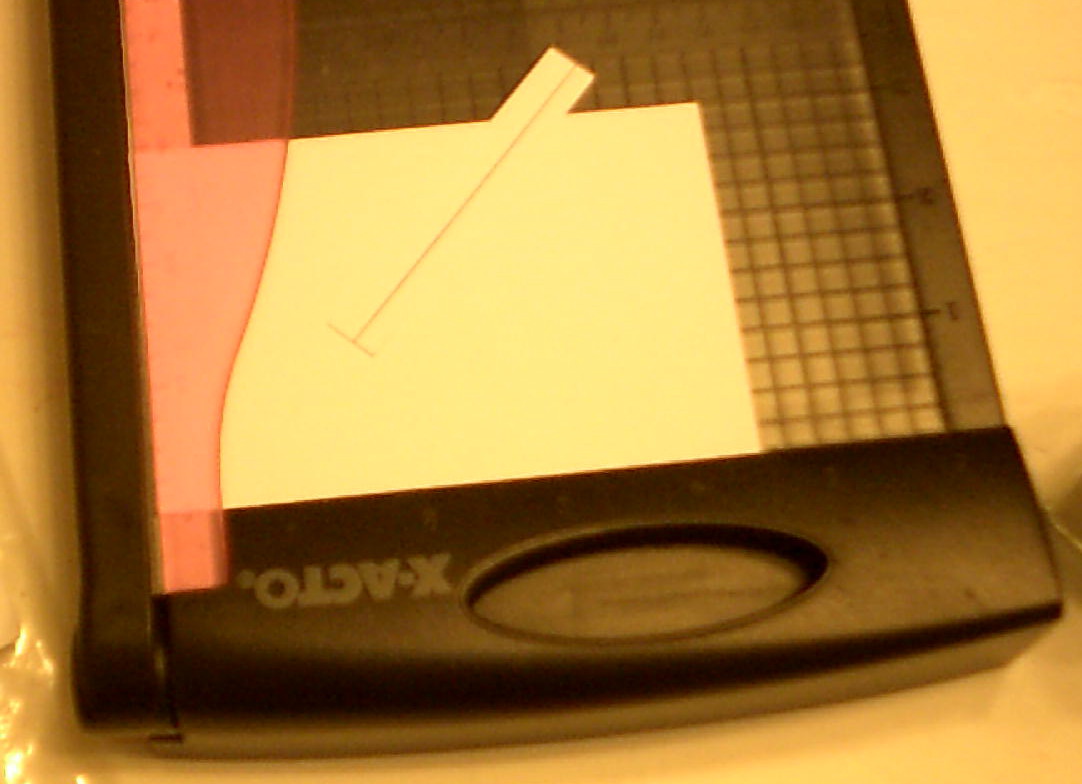
To add some extra dimention to the wall sections, I have cut some strips of paper to be glues to the walls.
I though a suggetion of the secound story floor would add to the effect.
This is simplicity itself. A bit of cereal box torn off and cut to a nice right angle with the X-Acto paper cutter.
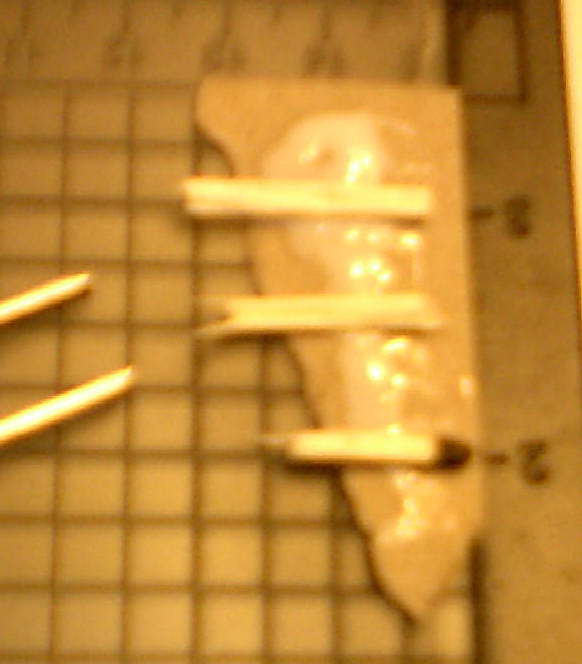
Take a match stich and break it into several bits, and glue to the underside of the card to suggect beams.
PVA is ideal for this quick job.
One downside of foam-core is the open-cell structure the is exposed on the cut edges.
This can be filled, to some extent, with PVA.
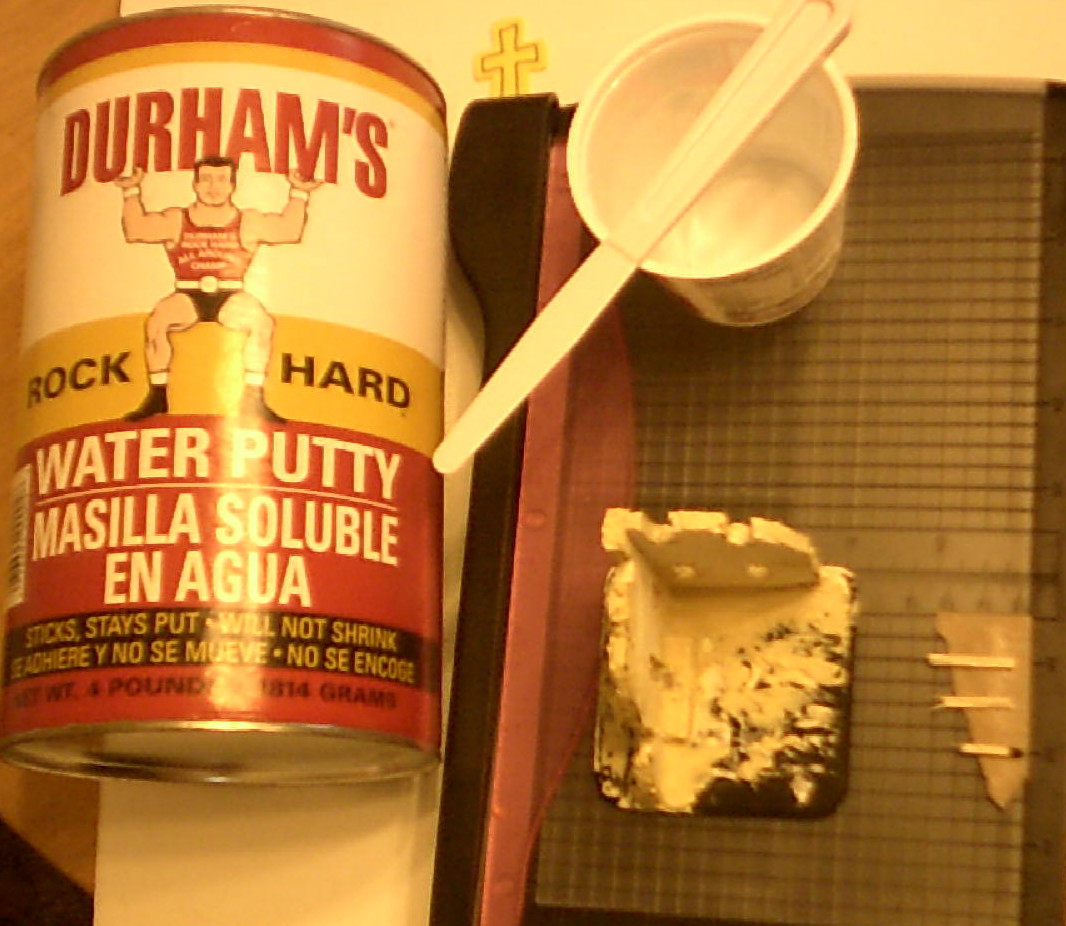
In this case I wanted to go a bit further, and used Durham's Rock Hard Water Putty" to fill in the exposed edges.
Durham's is much like plaster, expect the mixing ratio is very braod.
Also, Durham's is not nearly as brittle as plasters.
I used the Durham's along
PVA is also used to glue the section to the corner of the walls.
.JPG)
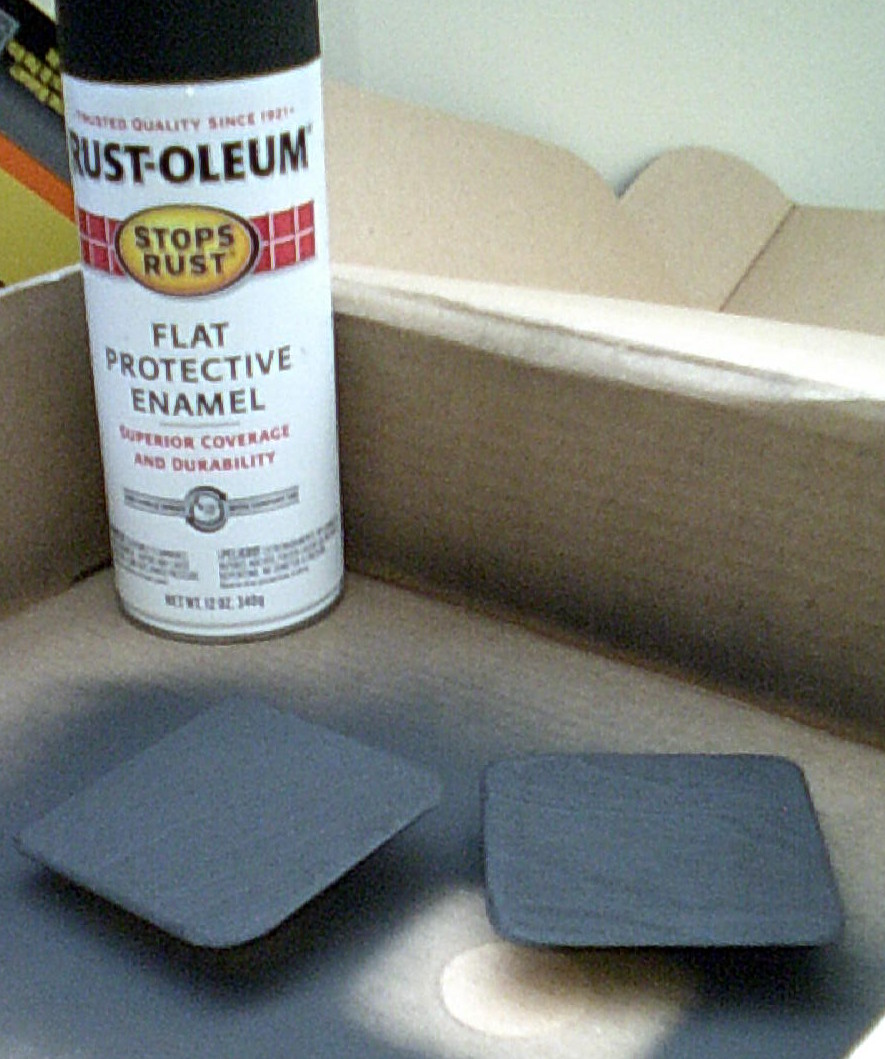
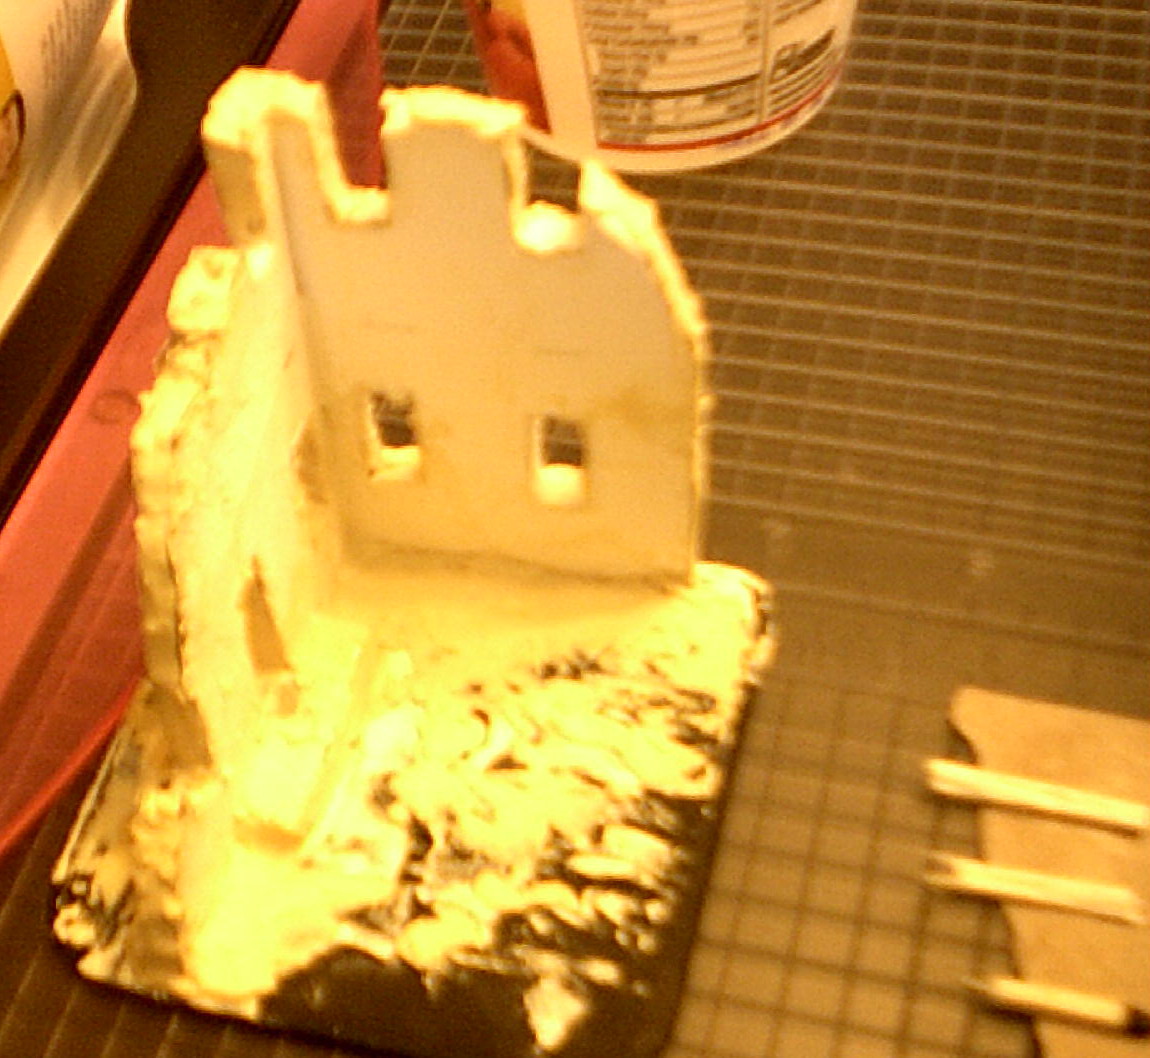
Sprayed with the black primer again, to seal and provide a base color to work with.
Note that many spray paint with disolve the foam inside the foam-core. I have sealed it in with Durham's and PVA.
.JPG)
Given a quick coat of low cost "Craft Paint" in a dull red color.
.JPG)
The inside and ground paint with gray house paint for the Miss-Mixed section of a paint shop. Like $5 a gallon.
.JPG)
Painting "bricks". Do with small dashes of various shade of red and red-brown.
.JPG)
Some brown on the second floor to inply flor boards.
.JPG)
A better photo of the "bricks"
.JPG)
And of the inside as well. Here some Mounties take command.
Return to the Terrain "How To"s page.

You can write me at:
e-Mail


|Over All Home
|What's New
|ESF Home
|VSF Home
|My Other Hobbies|
|E-mail|

This work is licensed under a Creative Commons License.
This work is licensed under a Creative Commons License.
